 #1
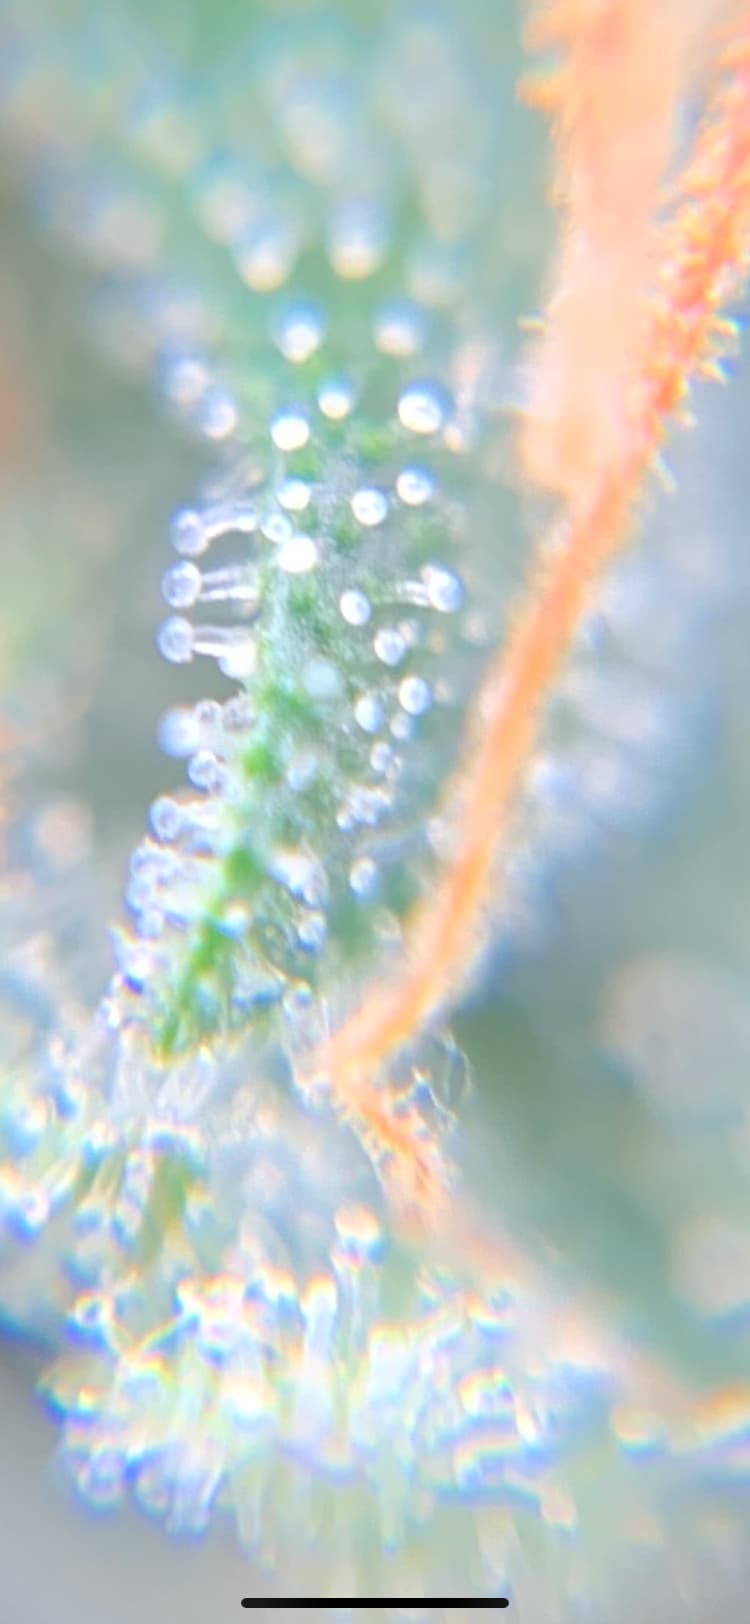
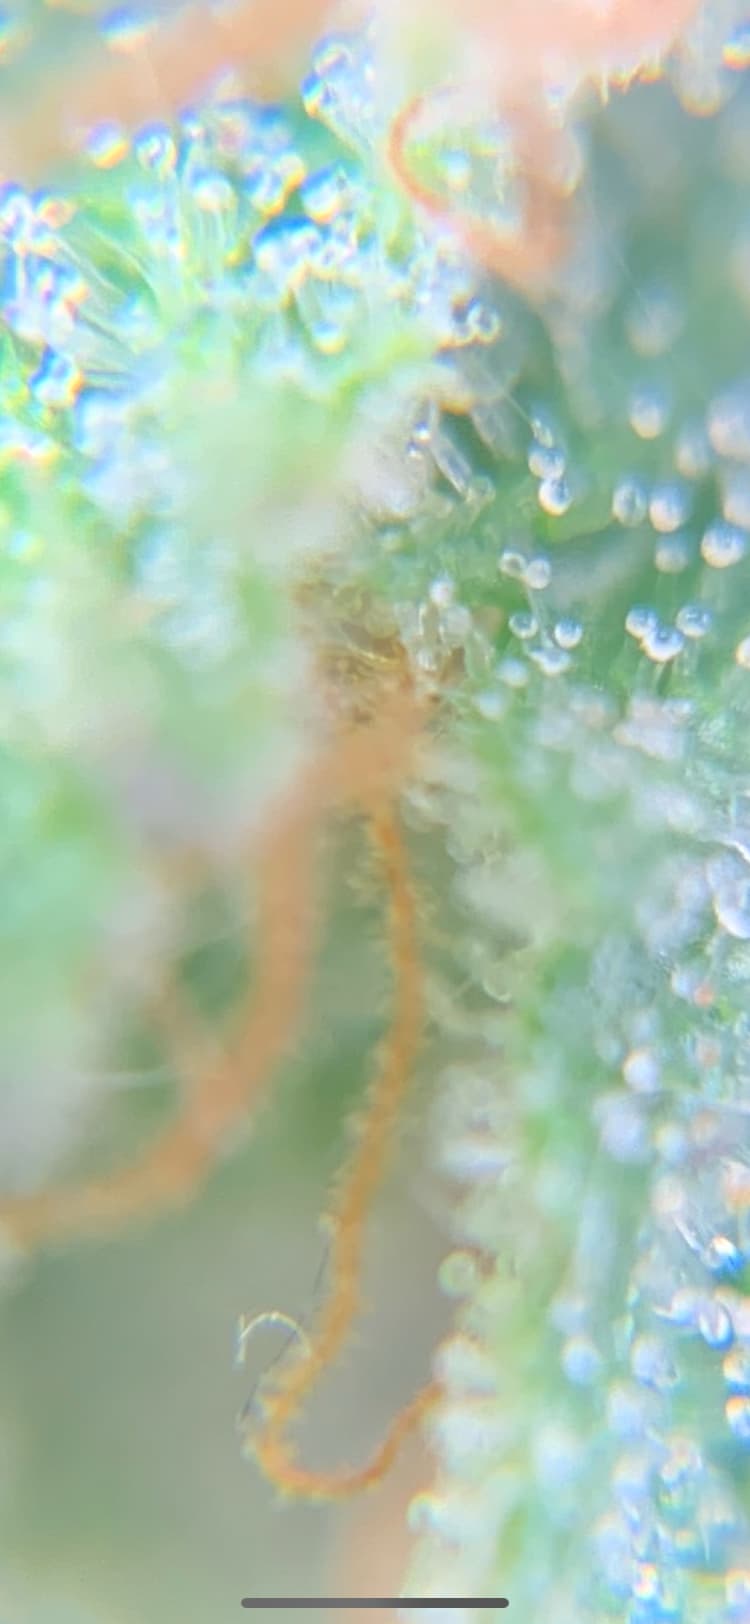
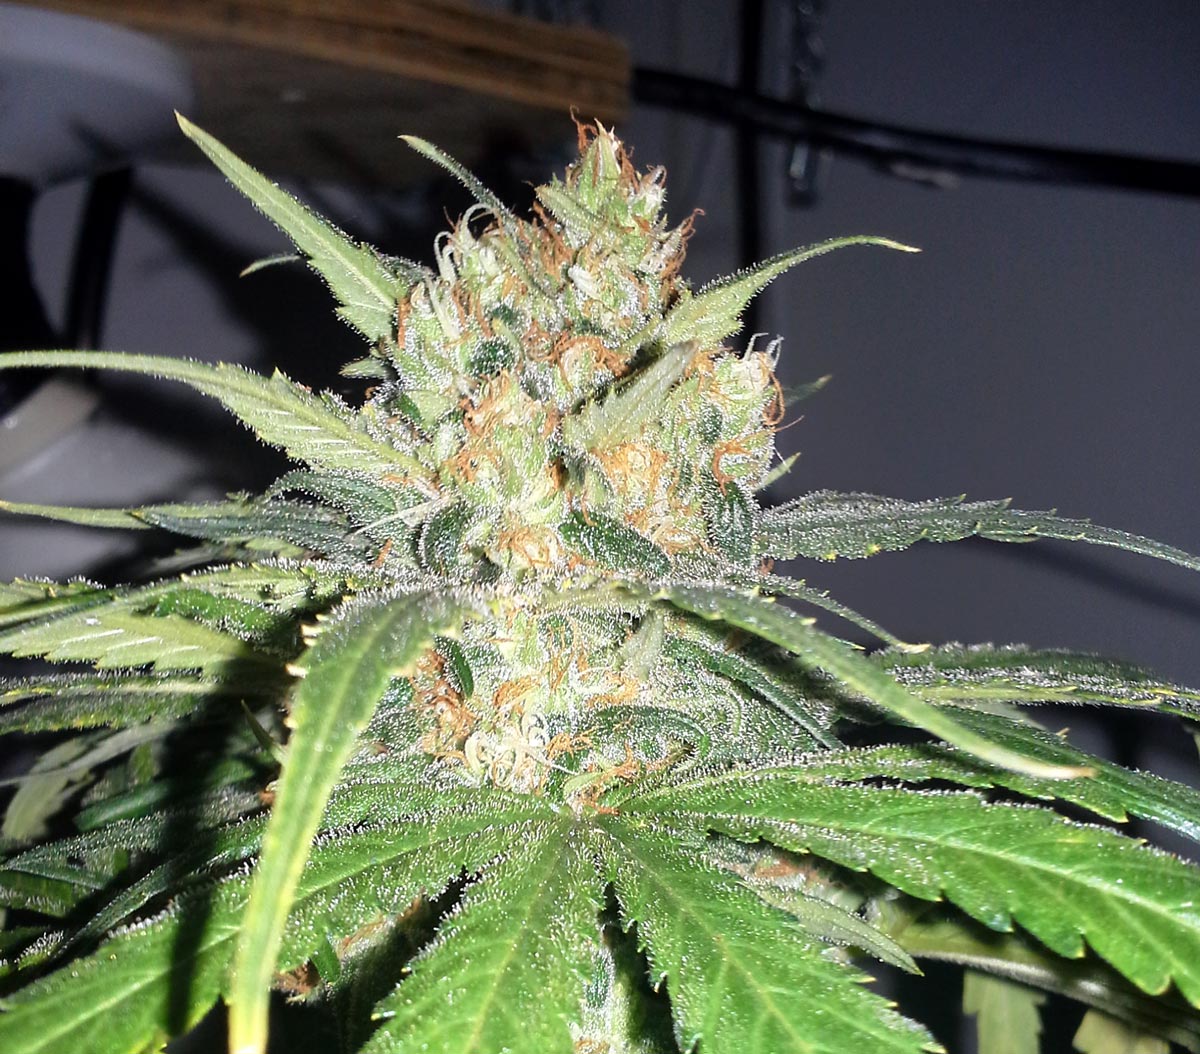
#1Hey guys! My both plants are 7,5 weeks and according to the genetics info it would take 8-10 weeks to flower for harvest. Presuming that I like a more uplifting effect, should I cut it next week?



4 respostas · 226 visualizações
#1Hey guys! My both plants are 7,5 weeks and according to the genetics info it would take 8-10 weeks to flower for harvest. Presuming that I like a more uplifting effect, should I cut it next week?
 #2
#2Well, I still see the trichomes as half white and somewhat milky. If you like to get high and then come down, you can cut it like this, but if you want something that hits you well and keeps you good for 1+ hours, I would wait for them to go 70-80% amber and the other 20% milky that for me is the best cut according to the trichomes. By and good smoke
When should we harvest the buds from a cannabis plant? That is the eternal question… I’m sure the answer we’re all thinking is “Not soon enough!”
(How far are your plants in the flowering stage? Check out the flowering stage timeline!)
Unfortunately for us impatient growers, harvesting at the right time is just as important as how you grow the plant. Harvest too soon and you lose potency and cannabis yields; too late and you can end up making a batch of sleep medicine.
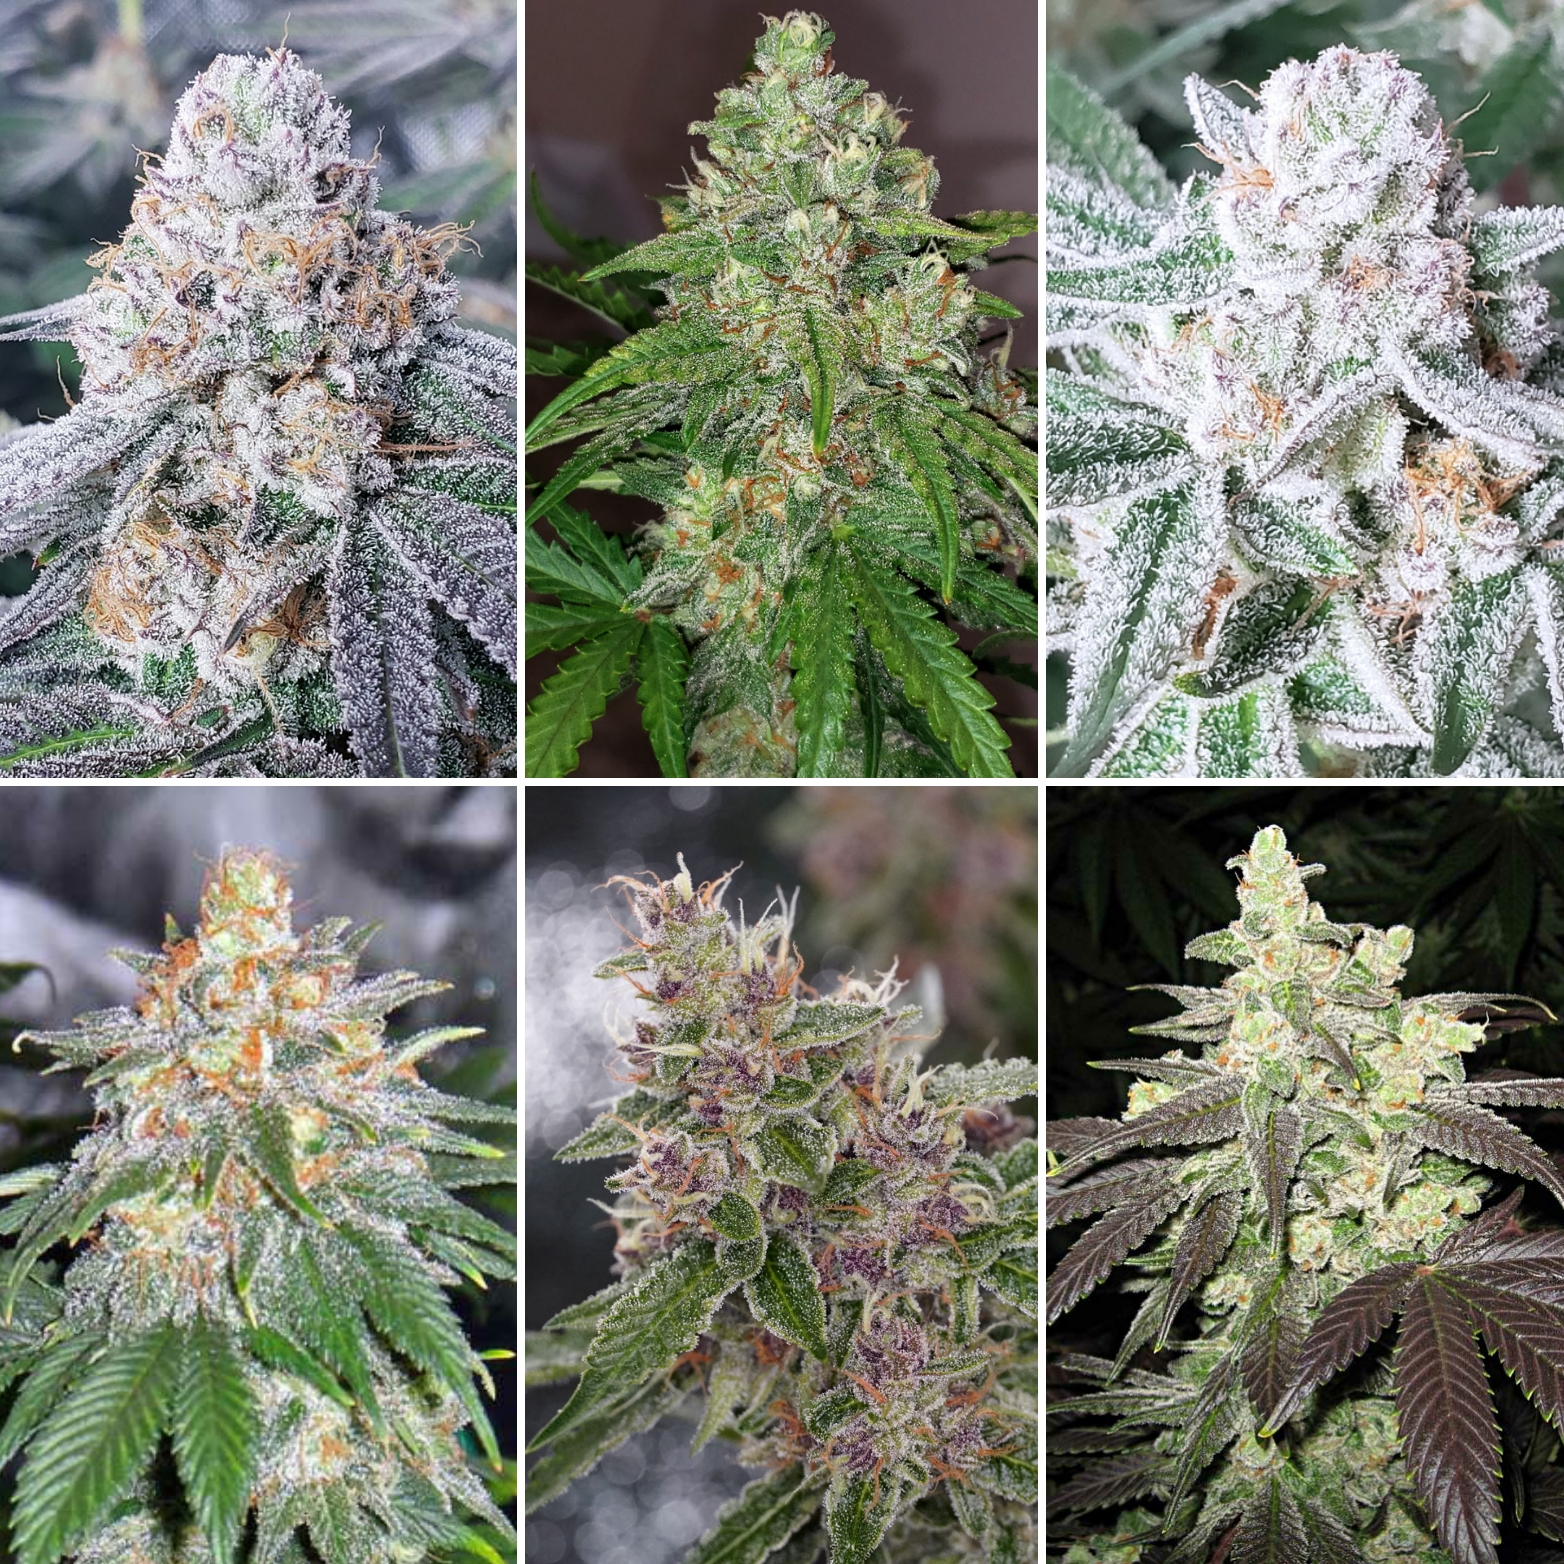
These 6 buds are in the harvest window. Buds are ready to harvest when most of the “hairs” have darkened and curled in and you can see the solid bud underneath.
Choose the most precise harvest time by looking at glittery trichomes under a magnifier. Trichome heads start out clear and glassy. At this point, buds are not very potent.
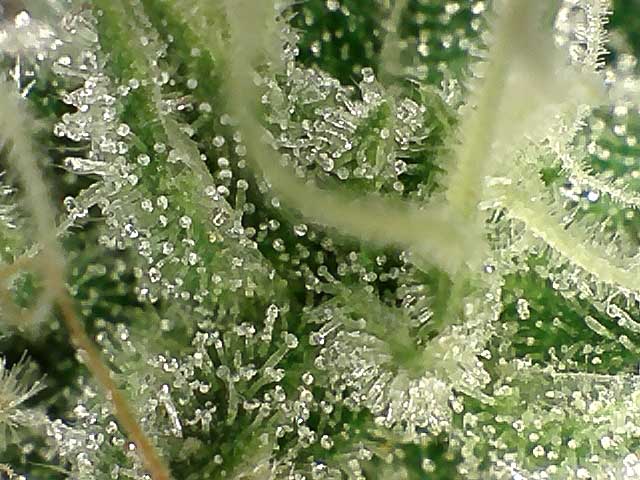
As buds mature, trichome heads turn milky white. They kind of look like plastic. These white trichome heads indicate the highest level of THC and CBD.
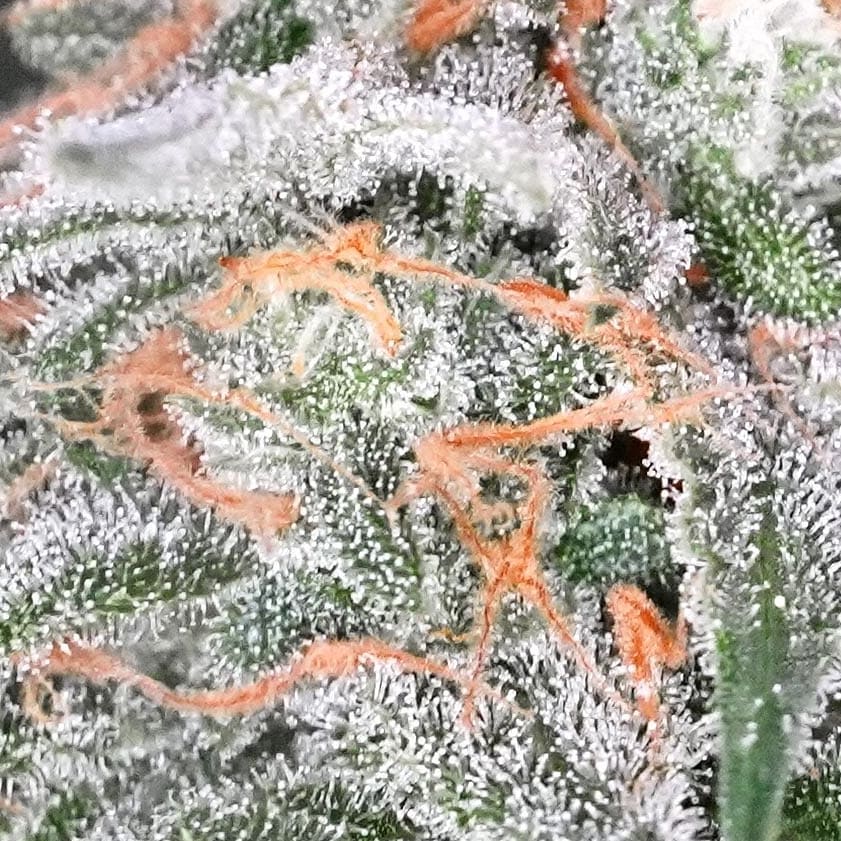
If given more time, white trichome heads turn amber/golden (for most strains). Amber trichomes have less THC but produce more of a relaxing/body/anti-anxiety effect.
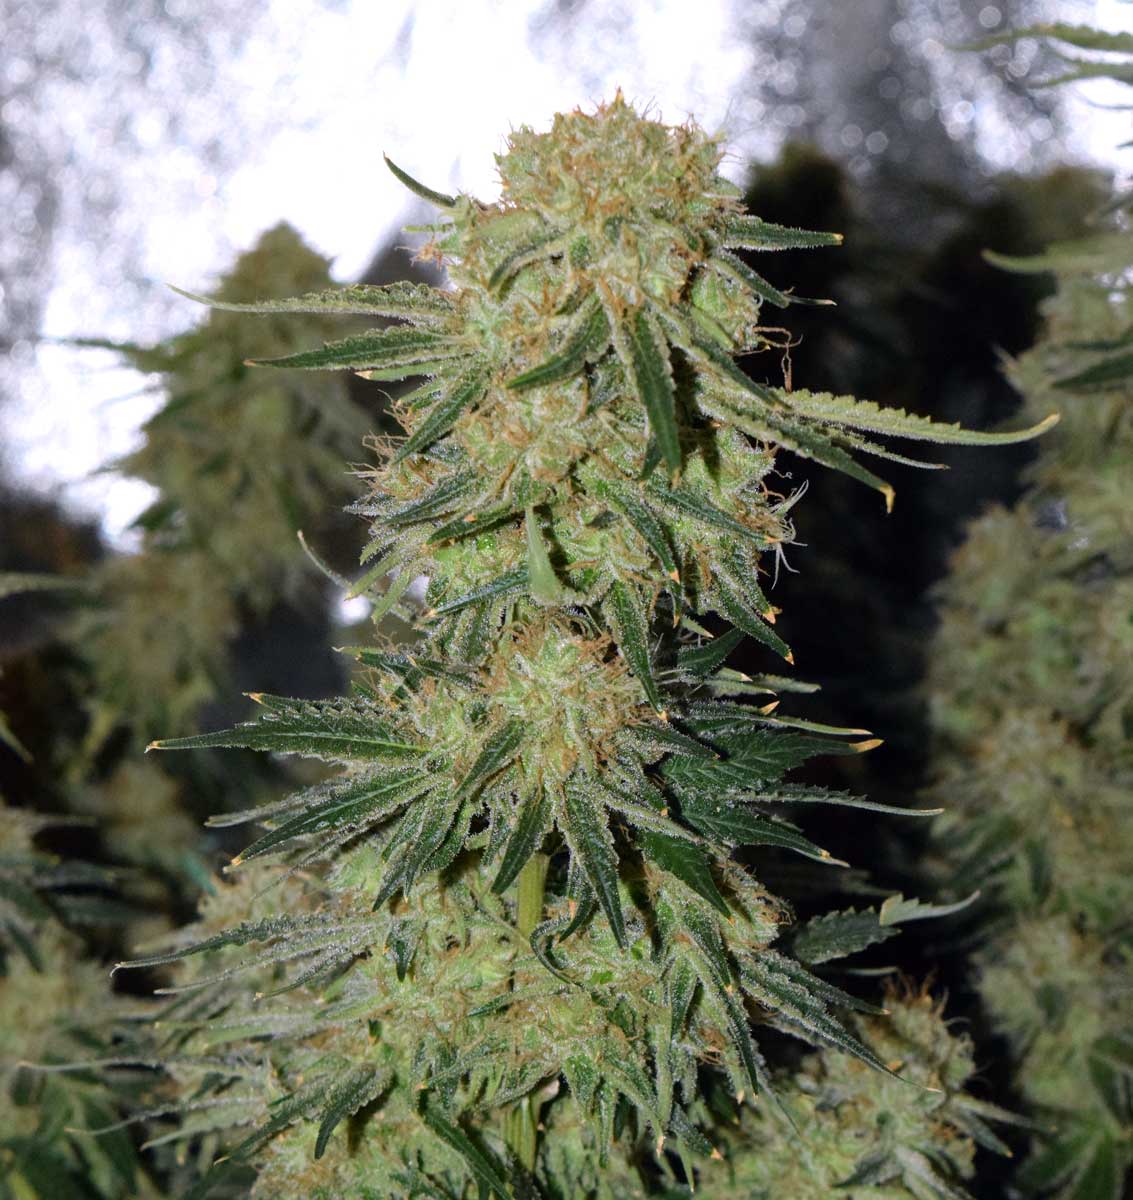
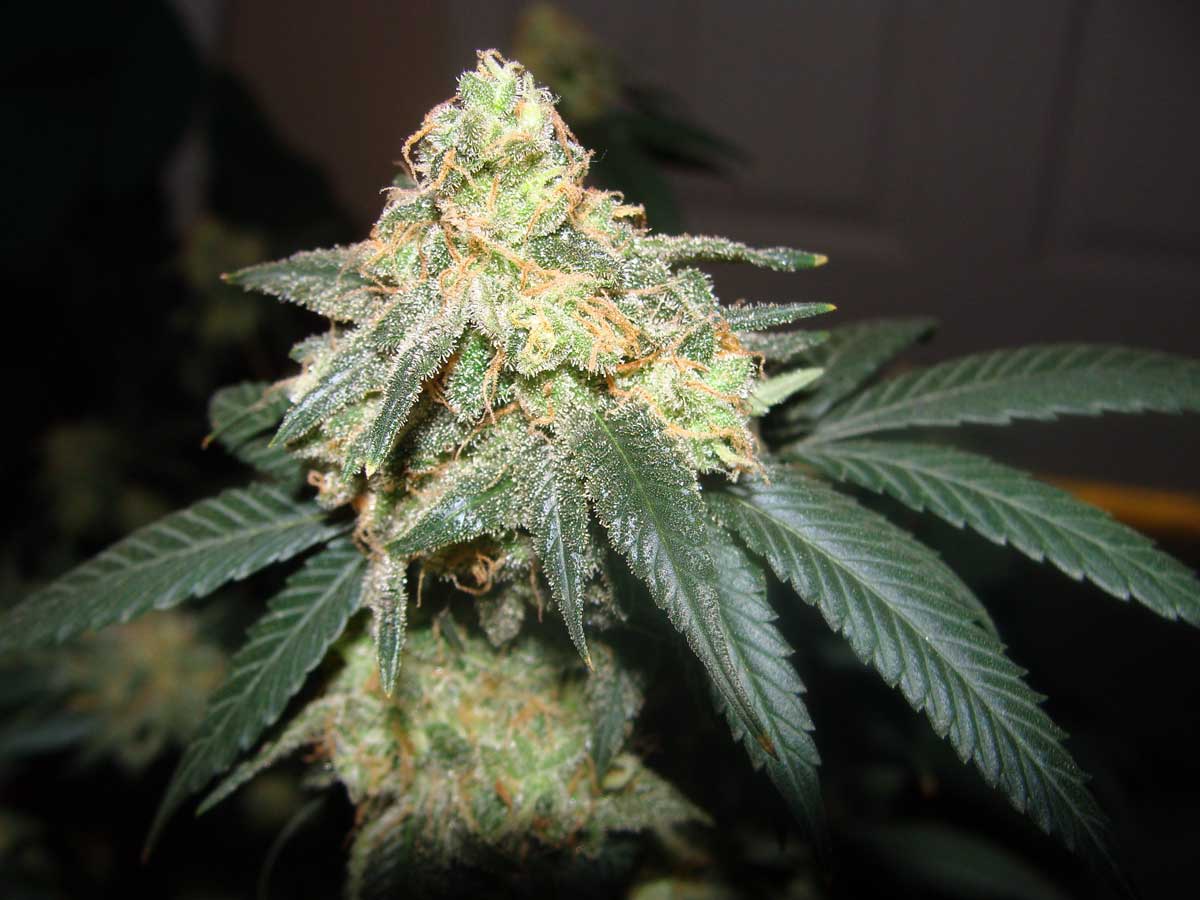
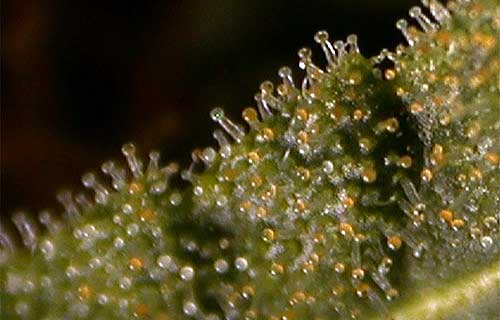 Quick Summary: Buds are ready to harvest when hairs have darkened and curled in, revealing the solid bud underneath. Harvest buds on the early side for more of an “up” mental/psychoactive effect (trichome heads appear milky white under a magnifier). If buds are allowed to continue maturing, the white trichomes begin to turn amber/golden. The greater the number of amber trichomes, the more buds produce a “down” body/couchlock effect.
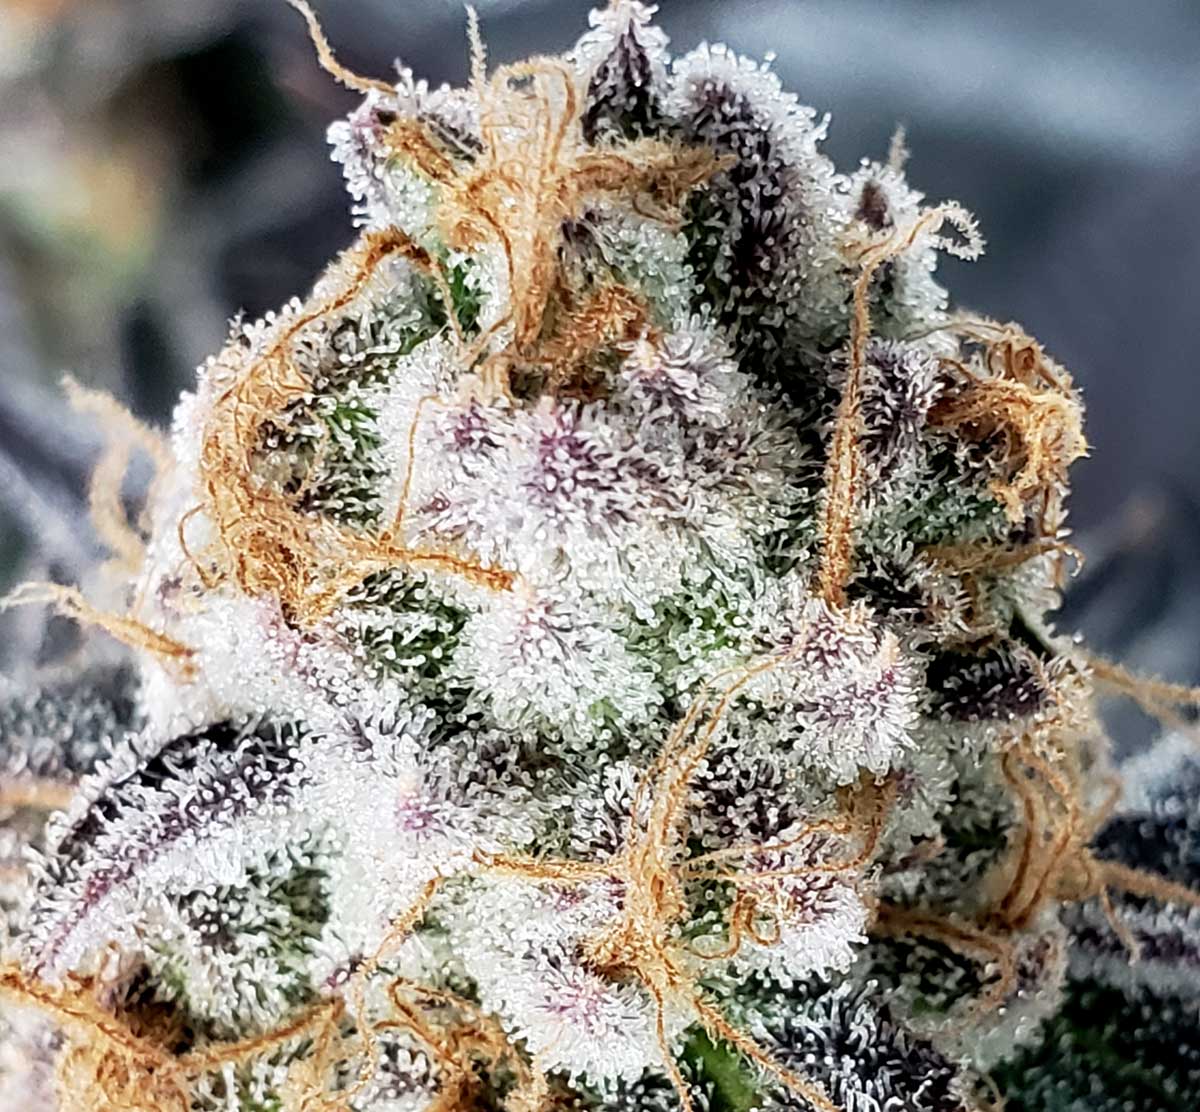
This bud with all-white trichomes has reached the highest level of THC/CBD. Wait another week or two for trichome heads to turn amber/golden for more of a relaxing effect.
You only need 3 things to determine the best marijuana harvest time:
When it comes to magnifying tools for growing, the 3 most popular options are…
Learn more about the best magnifiers to see trichomes clearly
Use a magnifier to see trichomes clearly
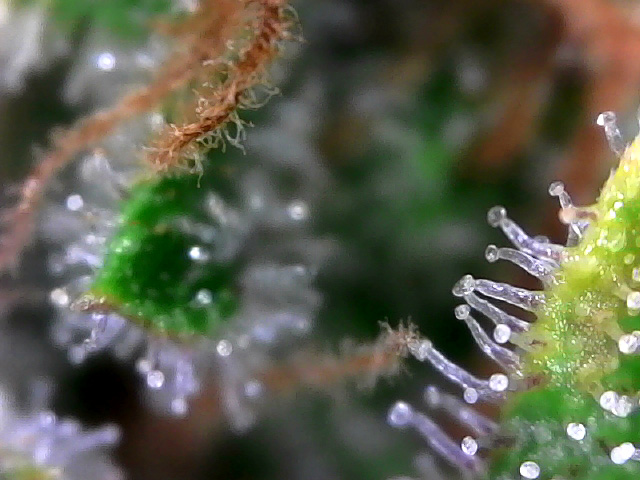
This harvest tutorial will fully cover the two main techniques growers use to identify the right time to harvest marijuana plants.
Note: It’s recommended you flush your cannabis plants in the last week or two leading up to harvest time if growing in soil or coco, and for at least a few days in hydro. Click the following link to get more info on flushing before harvest: Weed Flushing - How Long to Flush Plants Before Harvest | Grow Weed Easy
First, we’ll show you how to identify harvest time by checking the pistils (the ‘hairs’ on your buds). The pistil method isn’t nearly as accurate as checking the trichomes (the ‘glitter’ on your buds), but it’s definitely a good place to start since you can just look at the buds and get a general idea. Then we’ll get into trichomes.
The following marijuana harvest pictures will guide you, so you know when to harvest your marijuana buds using ‘The Pistil Method’.
See More Pictures of Buds That Are Ready to Harvest!
When the vast majority of pistils (hairs) are still white and sticking out straight, this plant is not ready to harvest.
Way too early to harvest
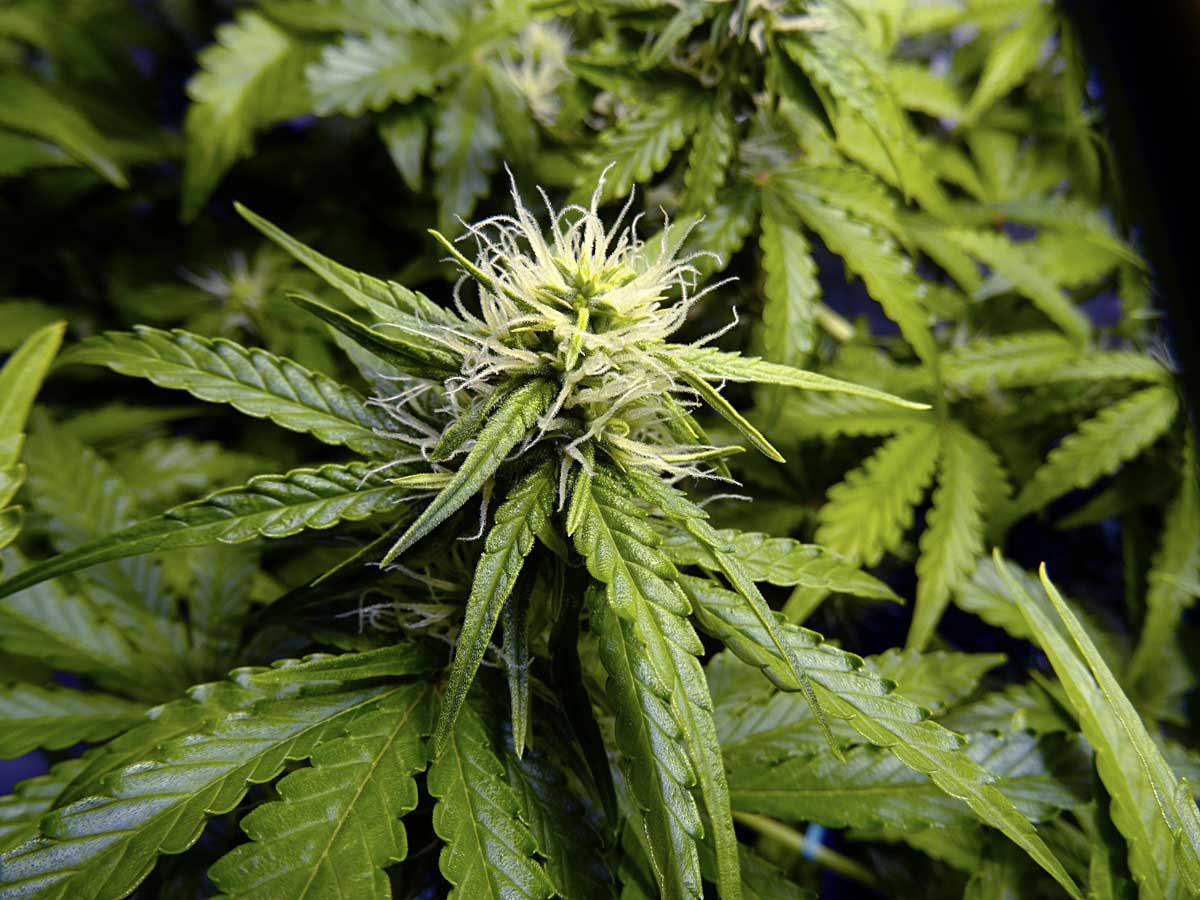
These buds still have many weeks to go!
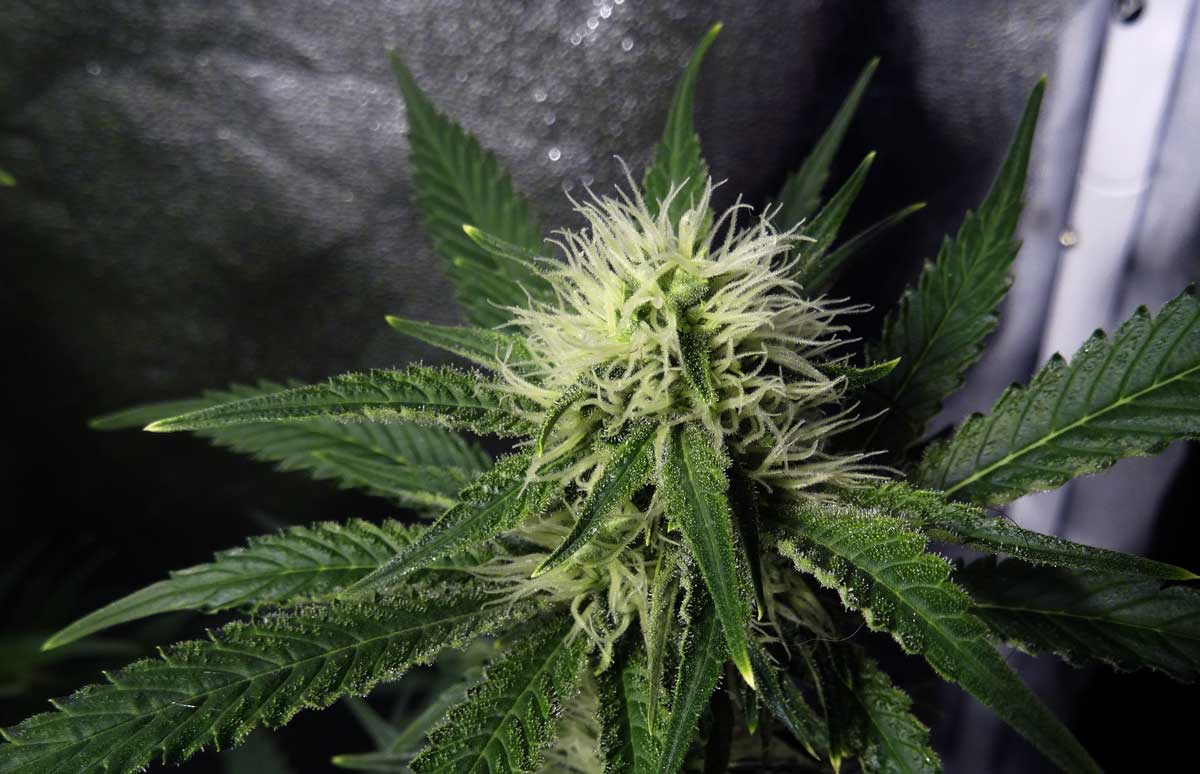
Both potency and yields are extremely low at this stage
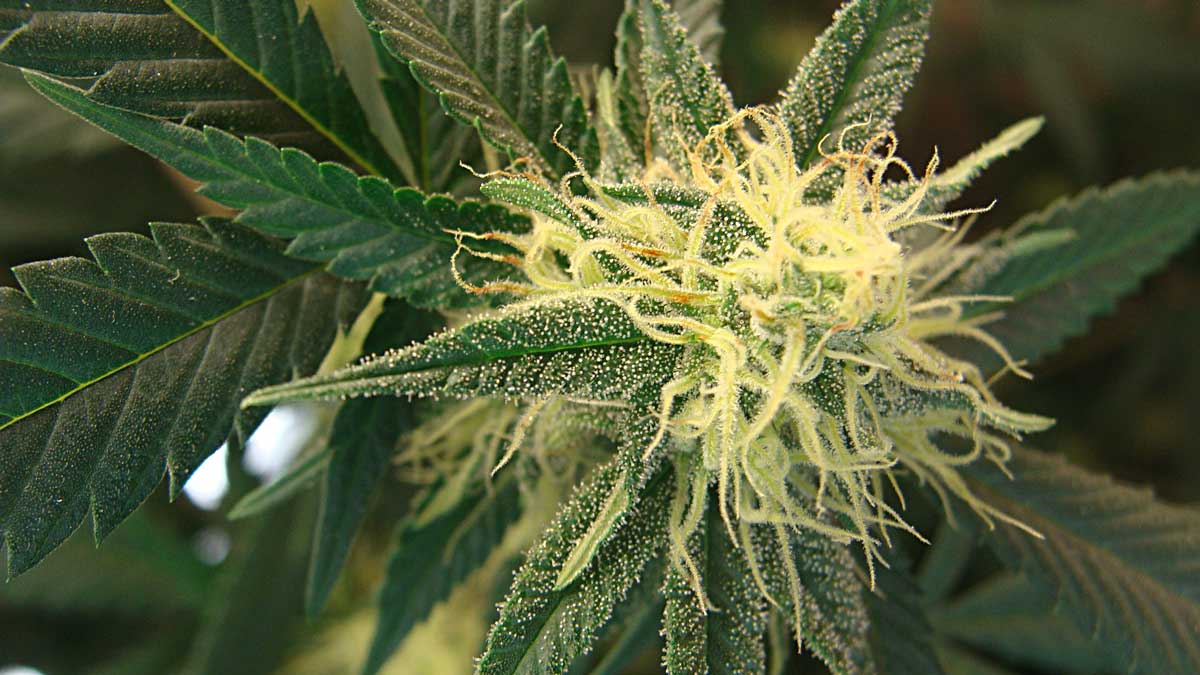
We’re waiting for most of the white hairs to darken and curl in. Some of the pistils are starting to turn color on the following buds, but there are still too many white pistils. These buds have at least a few weeks to go before they’ll reach their highest levels of THC. The good news is your buds will get bigger and denser in that time!
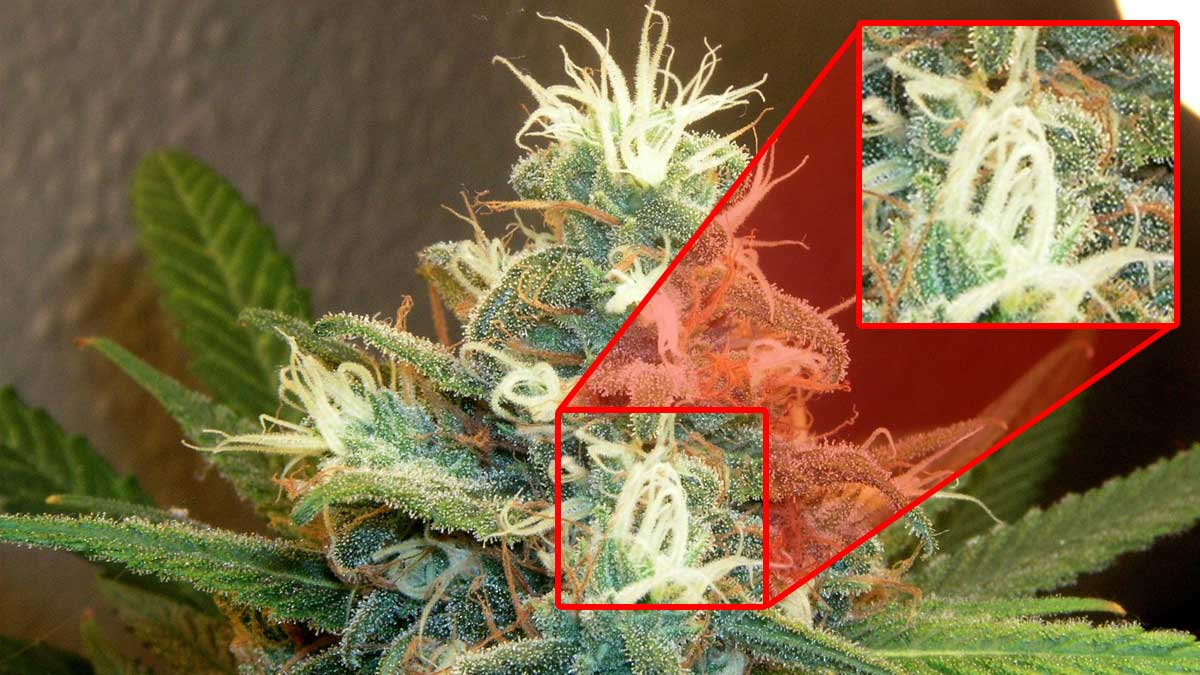
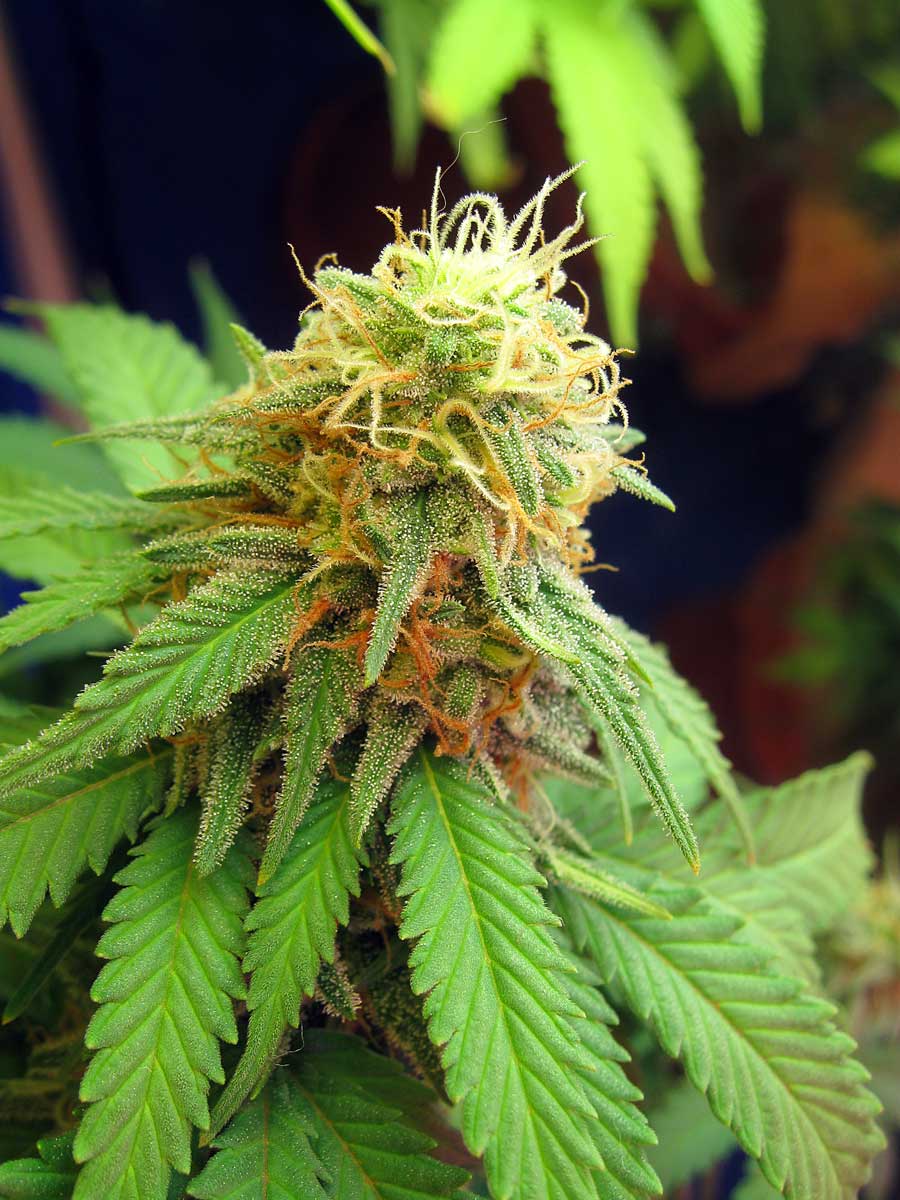
Does it feel like you’ve been waiting forever? Learn what causes marijuana to take a long time before being ready to harvest.
Harvest when 70-90% of hairs have darkened for highest levels of THC.
Harvest when 90-100% of hairs have darkened for a more calming,
anti-anxiety effect as some THC turns to the more relaxing CBN.
With some strains, you may see a bunch of new pistils appear right when you think you’re getting close. This is normal, but it happens more than 3 times you’ve eventually got to just make the decision and chop. Learn how to speed up the time to harvest. You may also be interested in what’s causing buds to take forever to mature?
Ready to Harvest – On the Early Side (more “up” effects, lower yields)
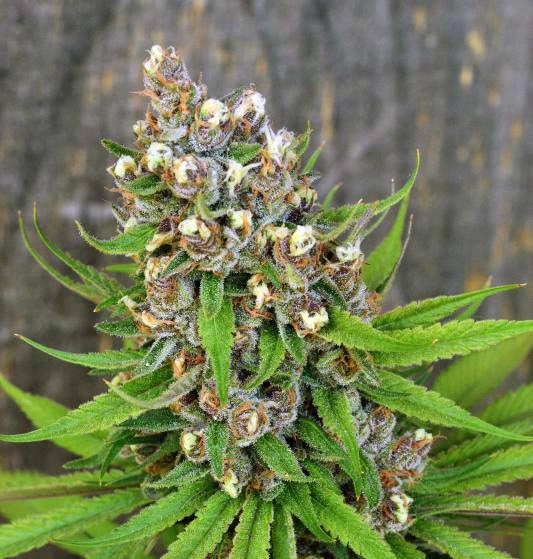
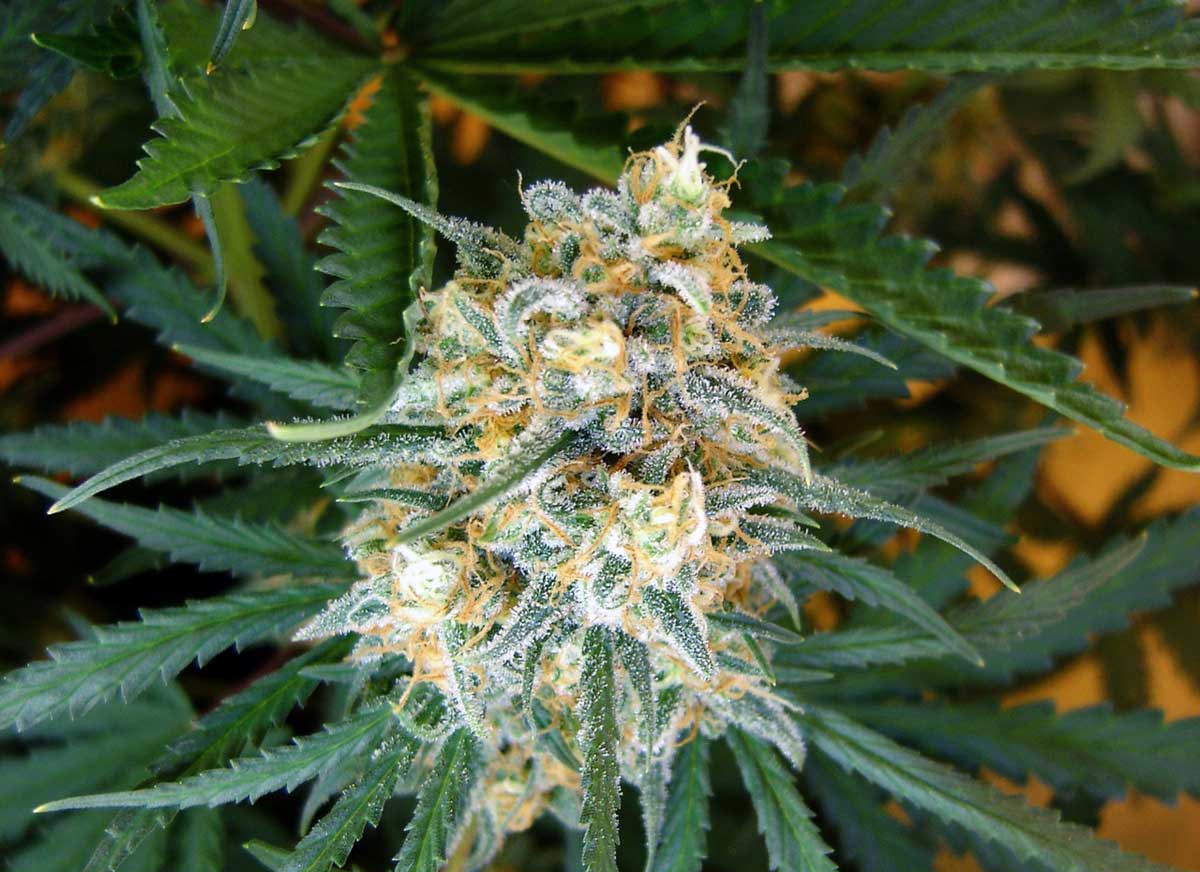
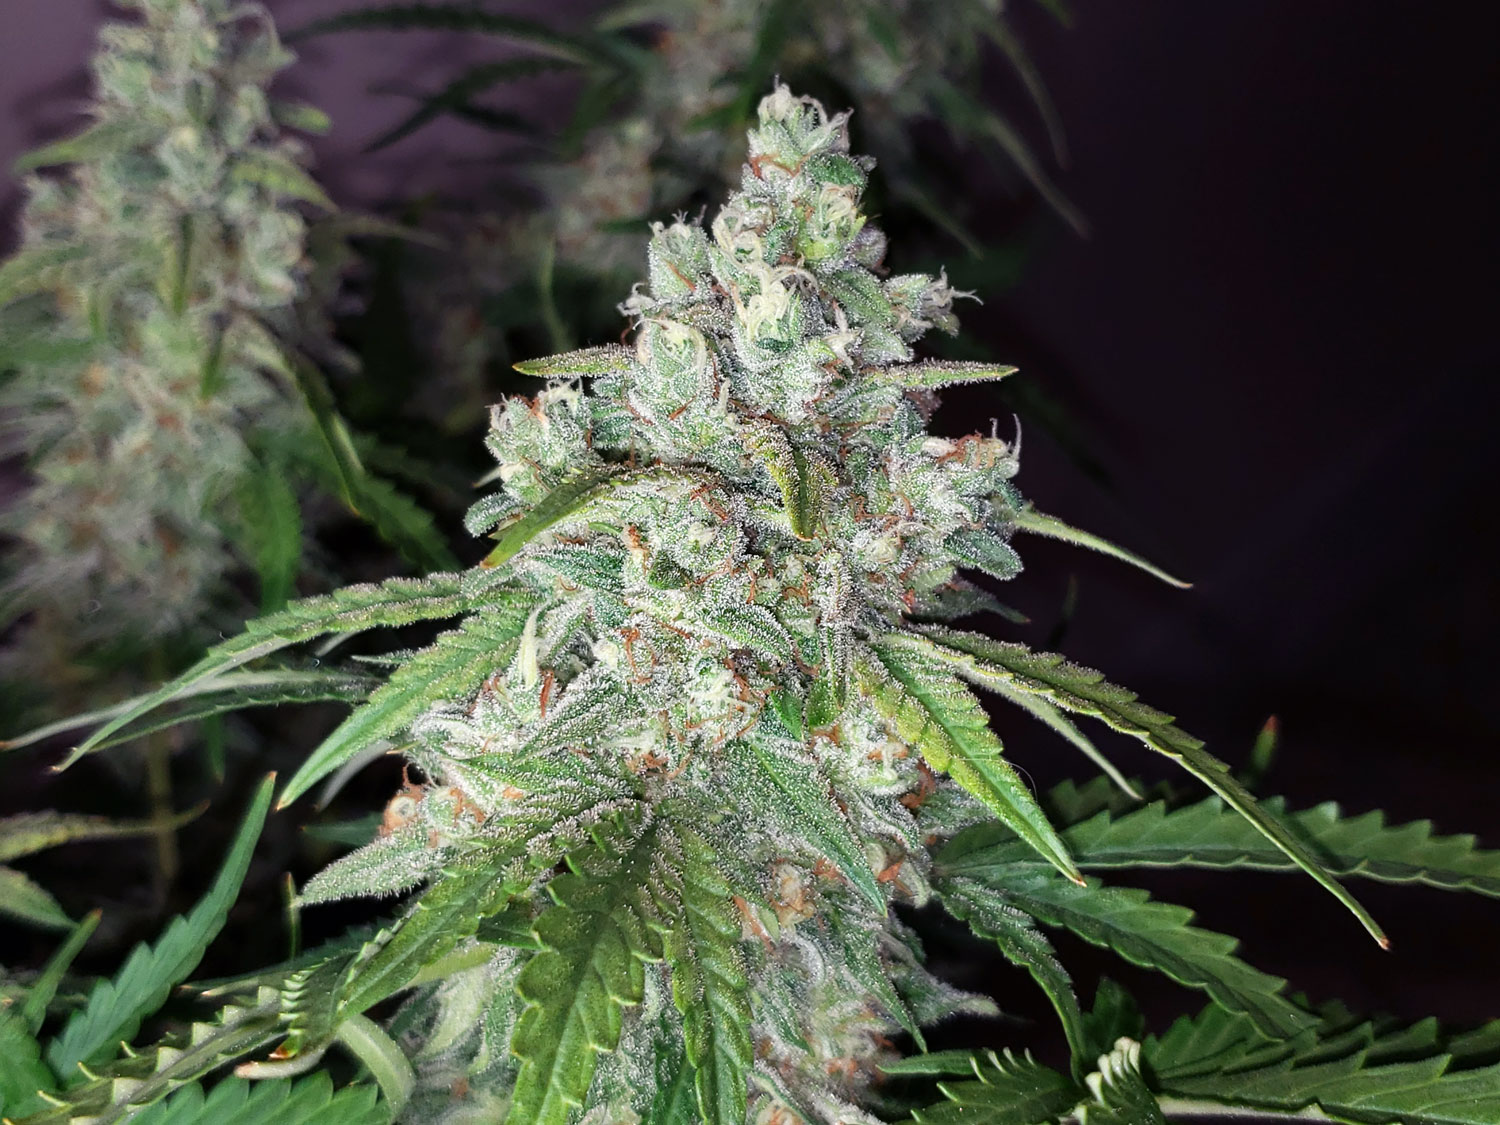
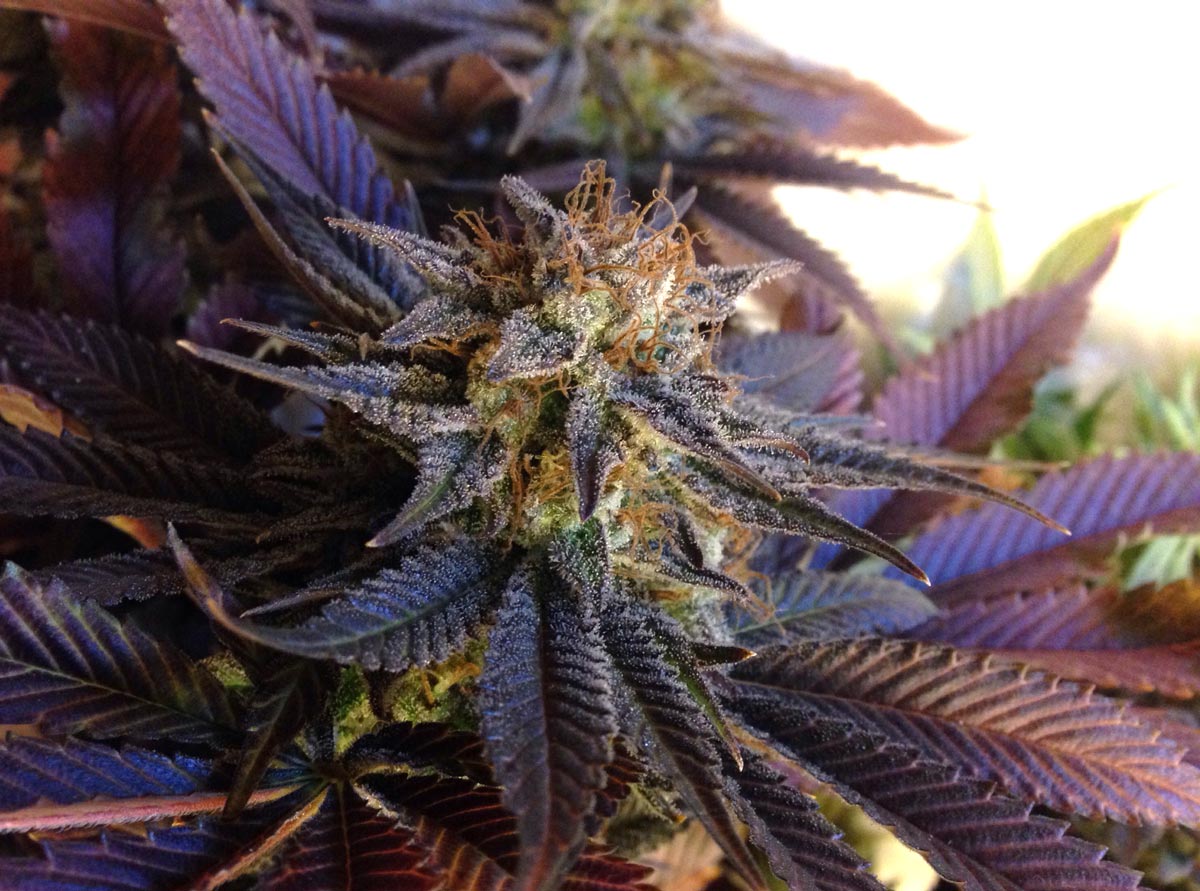
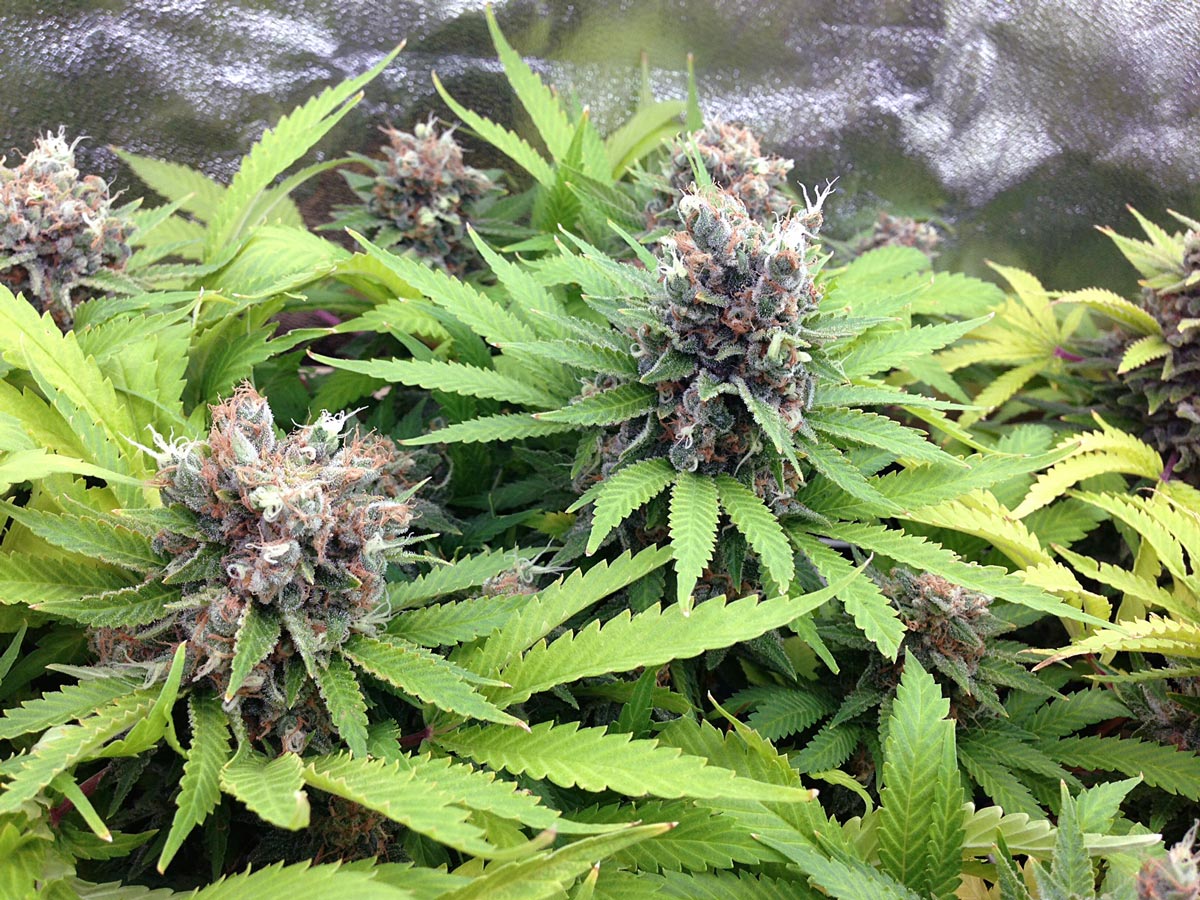 This purple bud is on the early side of the harvest window. Although the pistils / hairs have darkened, they are mostly sticking straight out. In this case, wait a little longer until hairs curl in more and reveal the solid bud underneath. Also look to the color of hairs on the lower buds as they’ll likely be a better indicator of harvest readiness.
Ready to Harvest – Middle of Harvest Window (only a few white hairs)
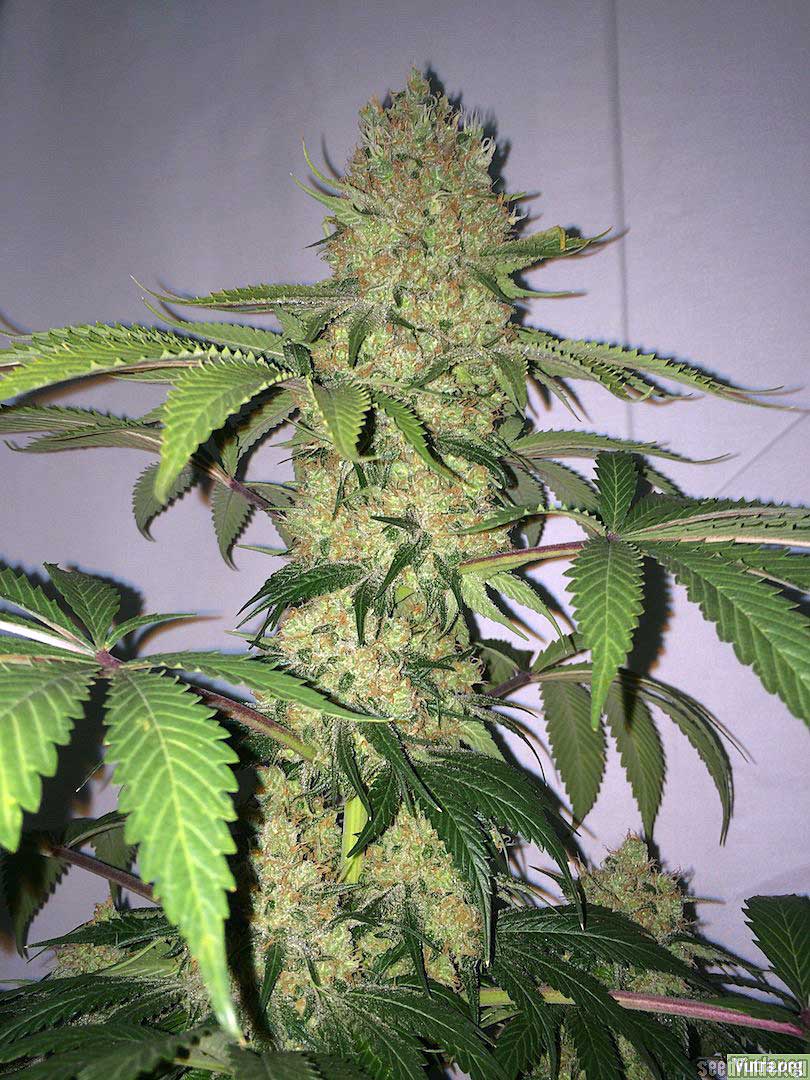
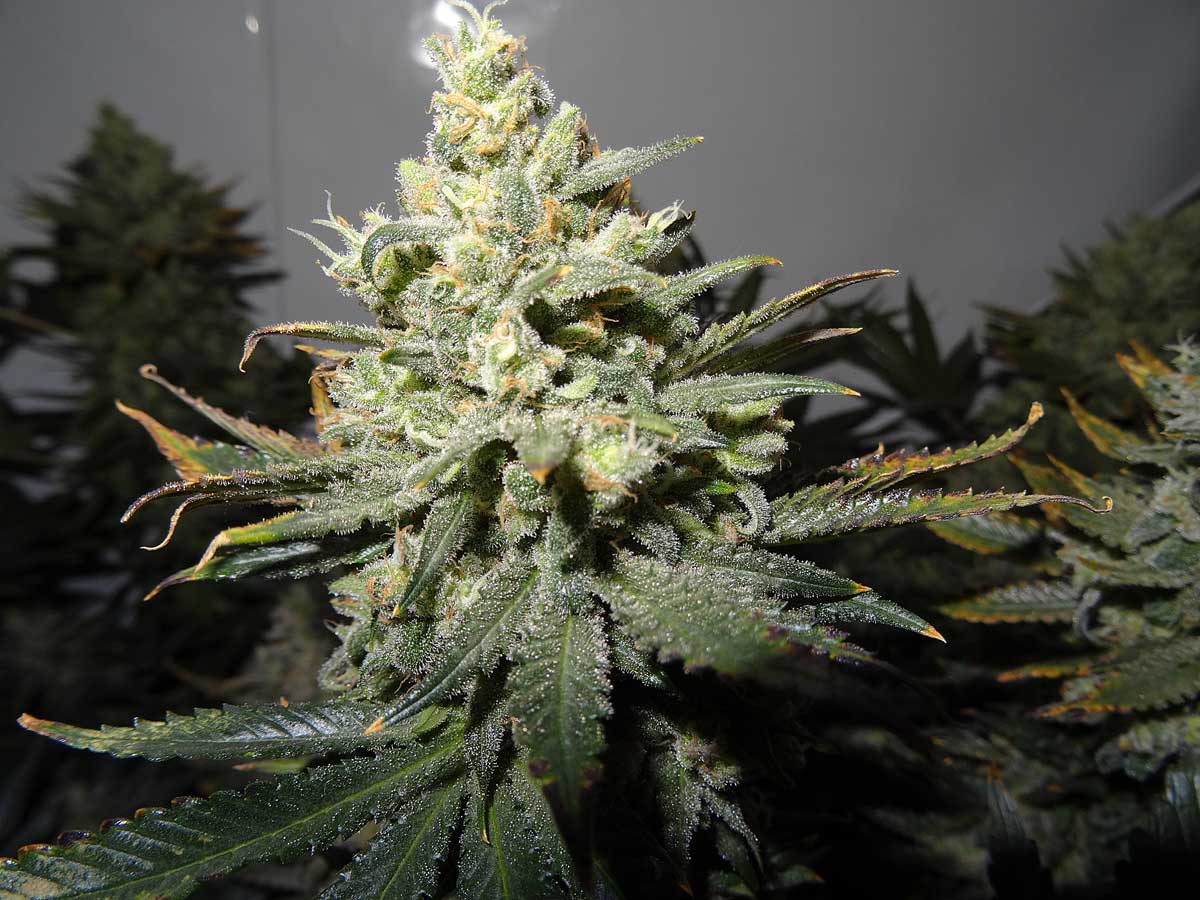
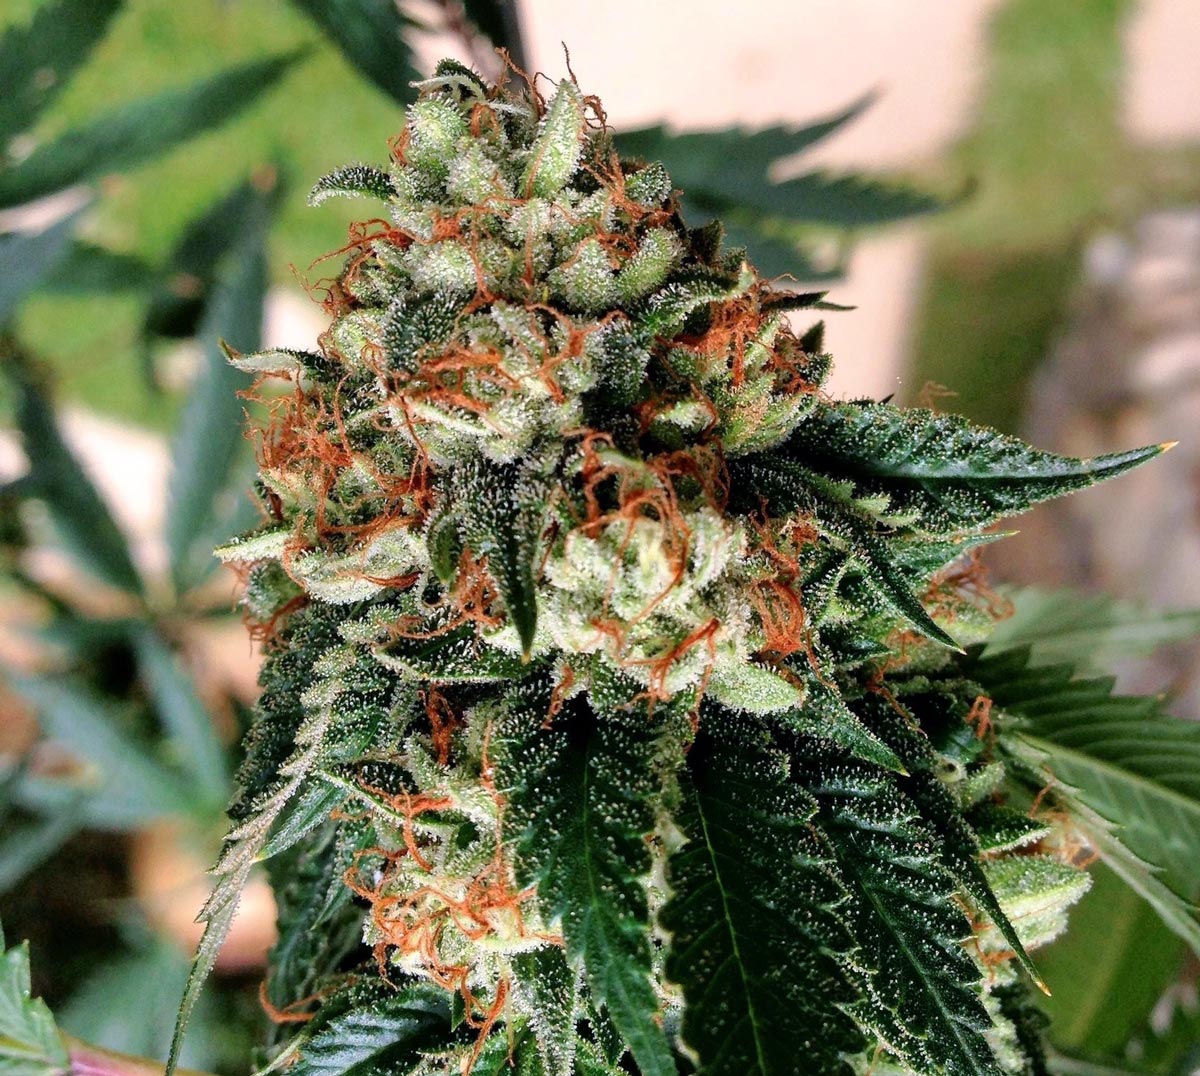
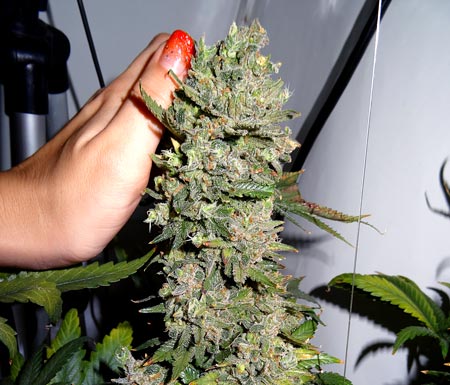
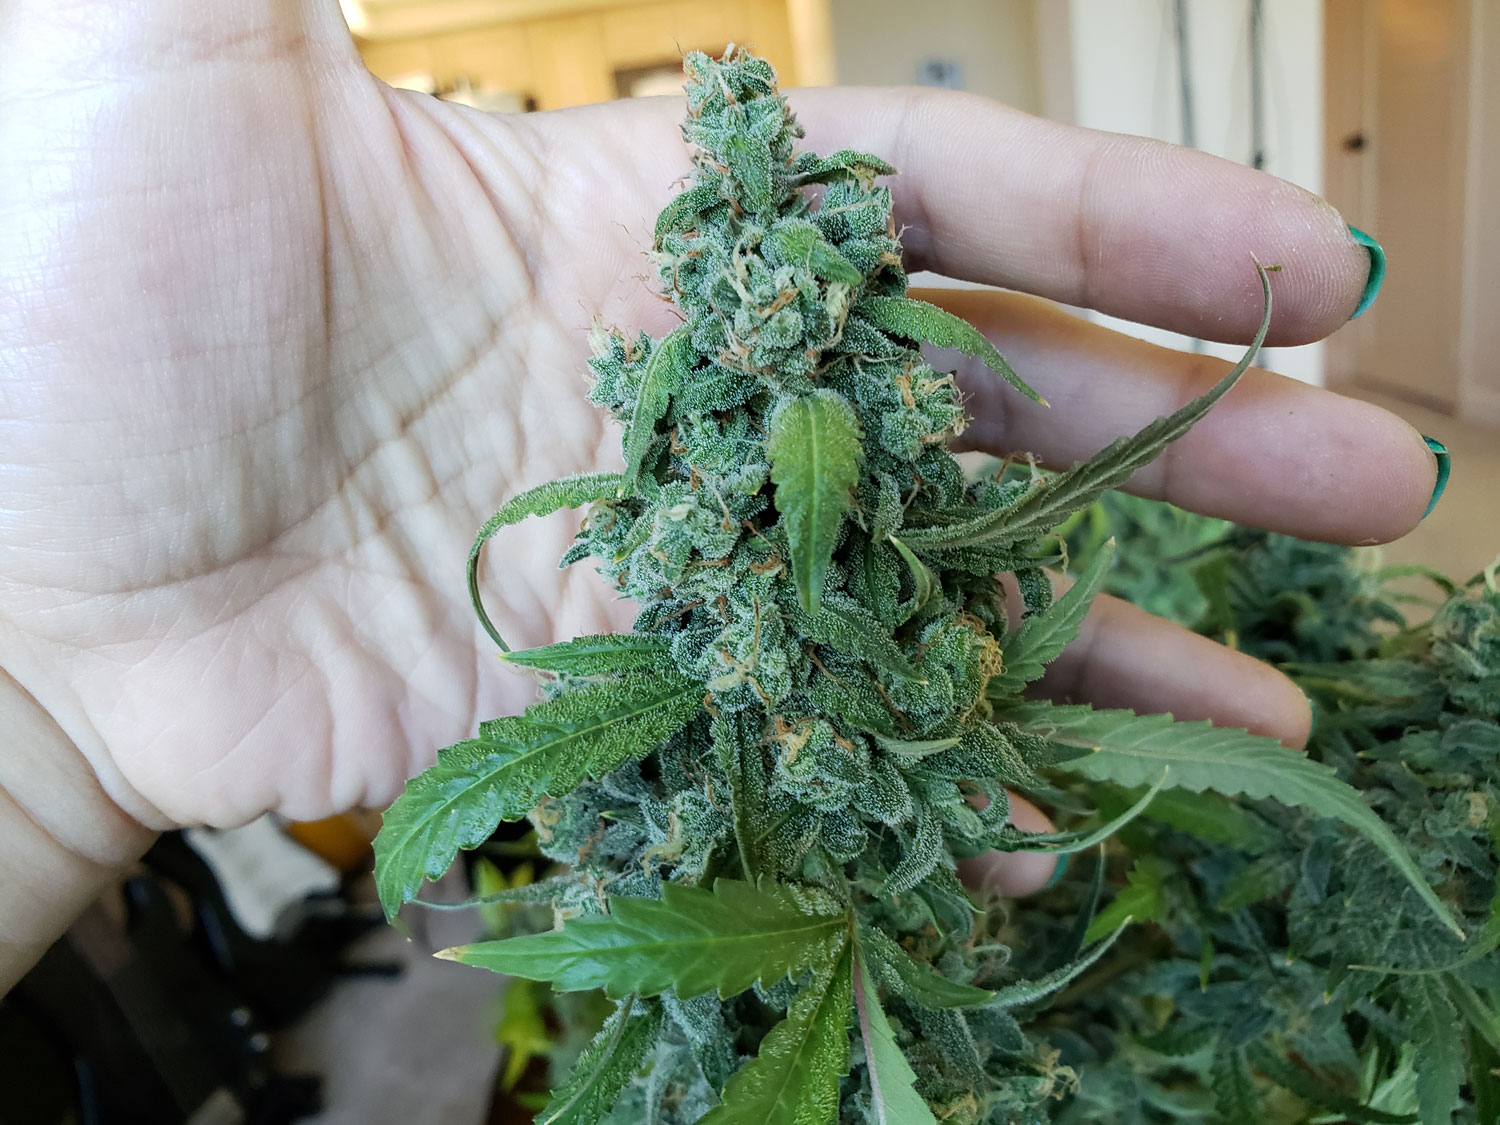
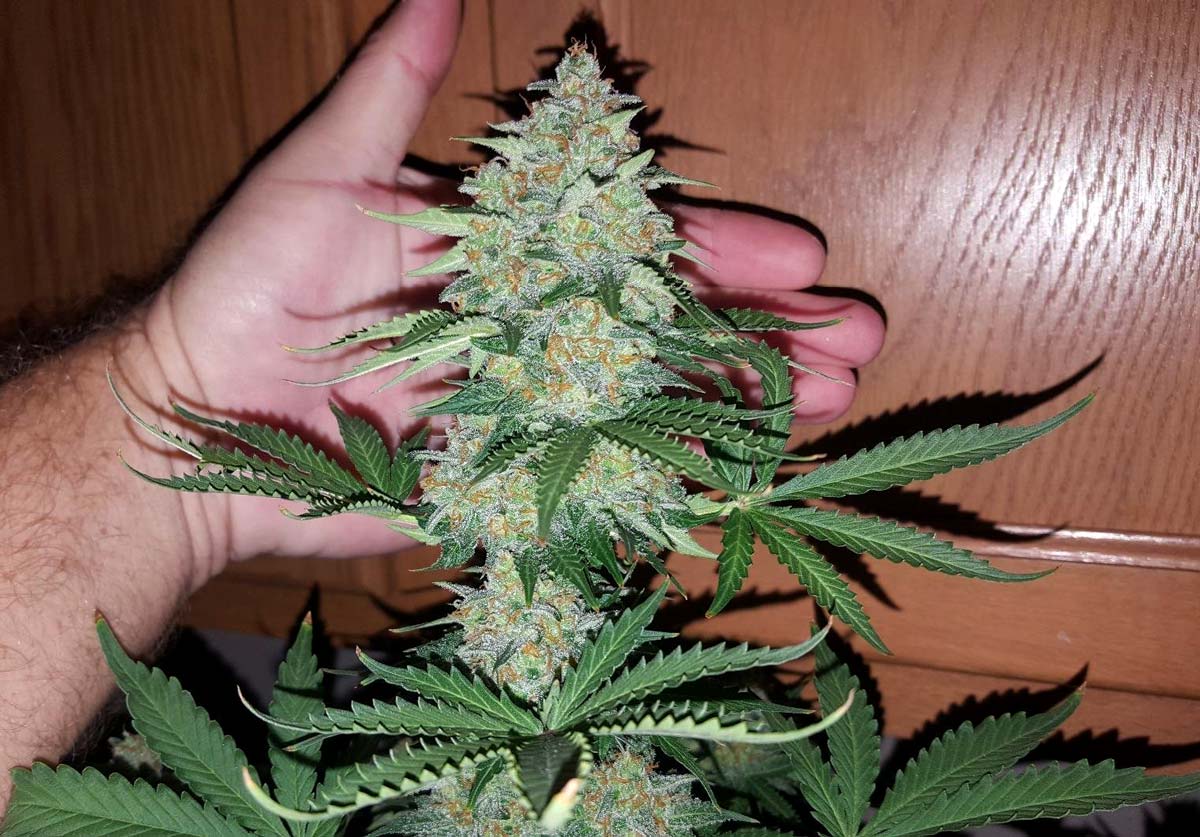
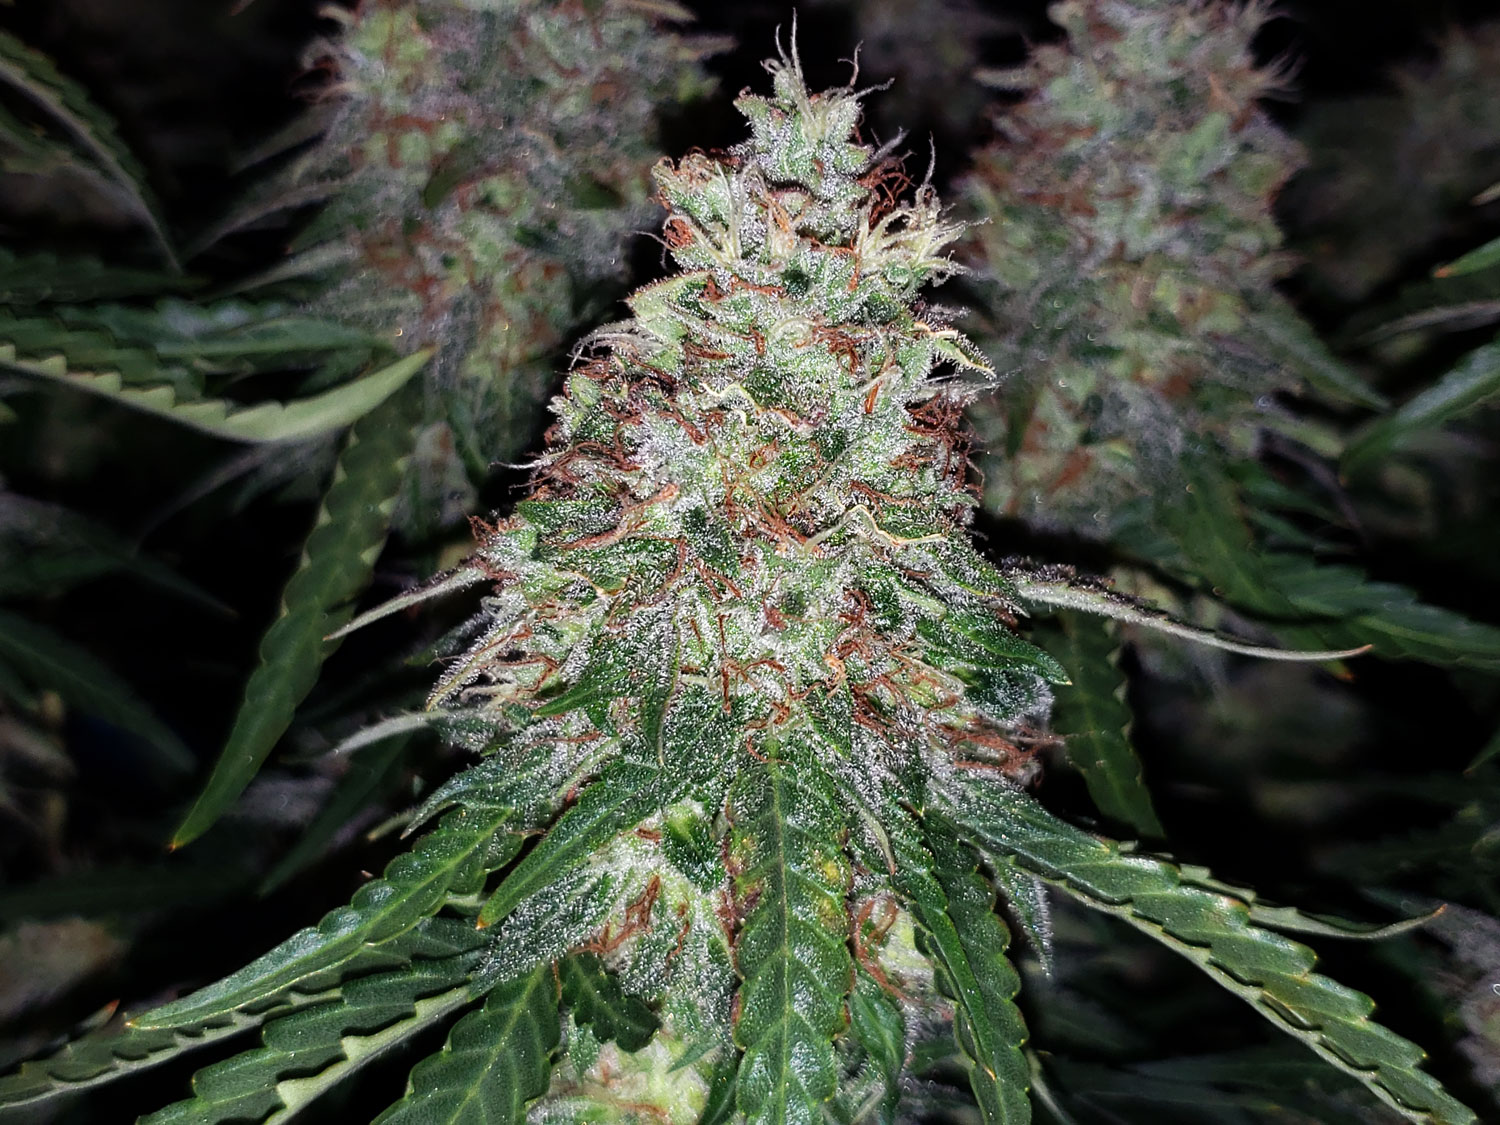
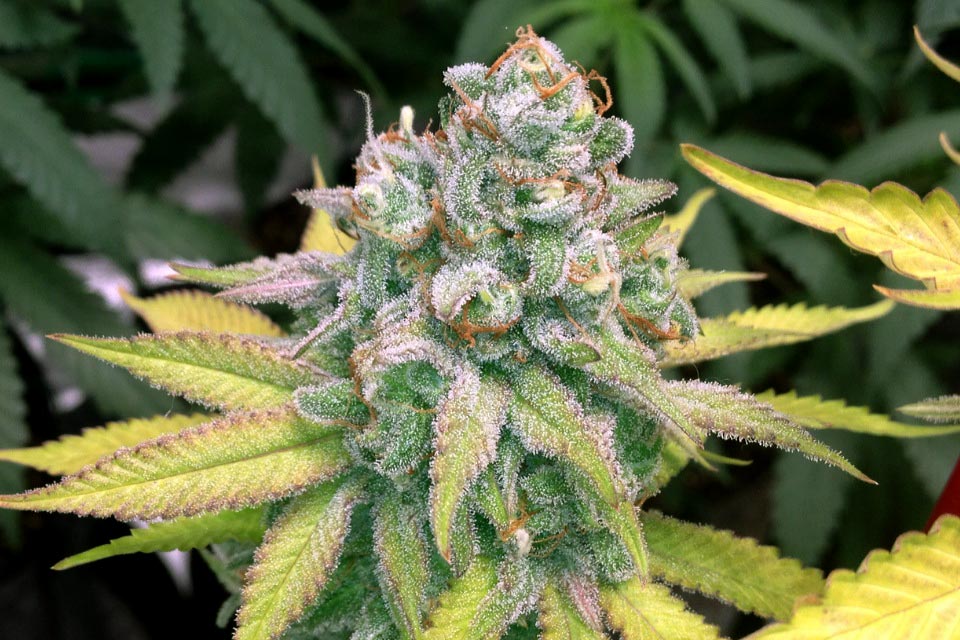
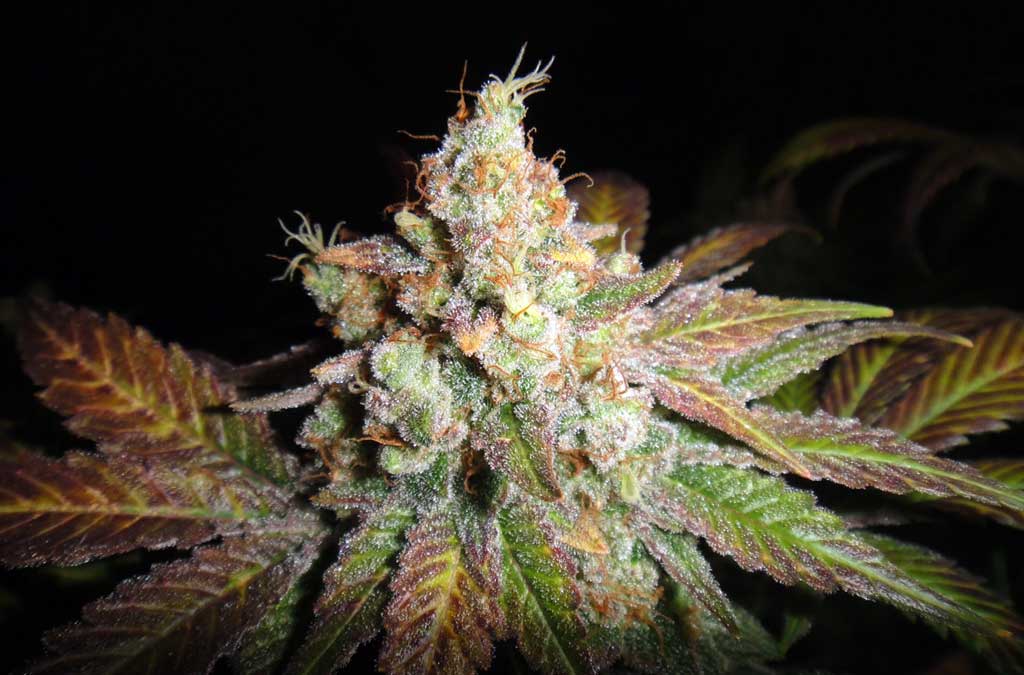
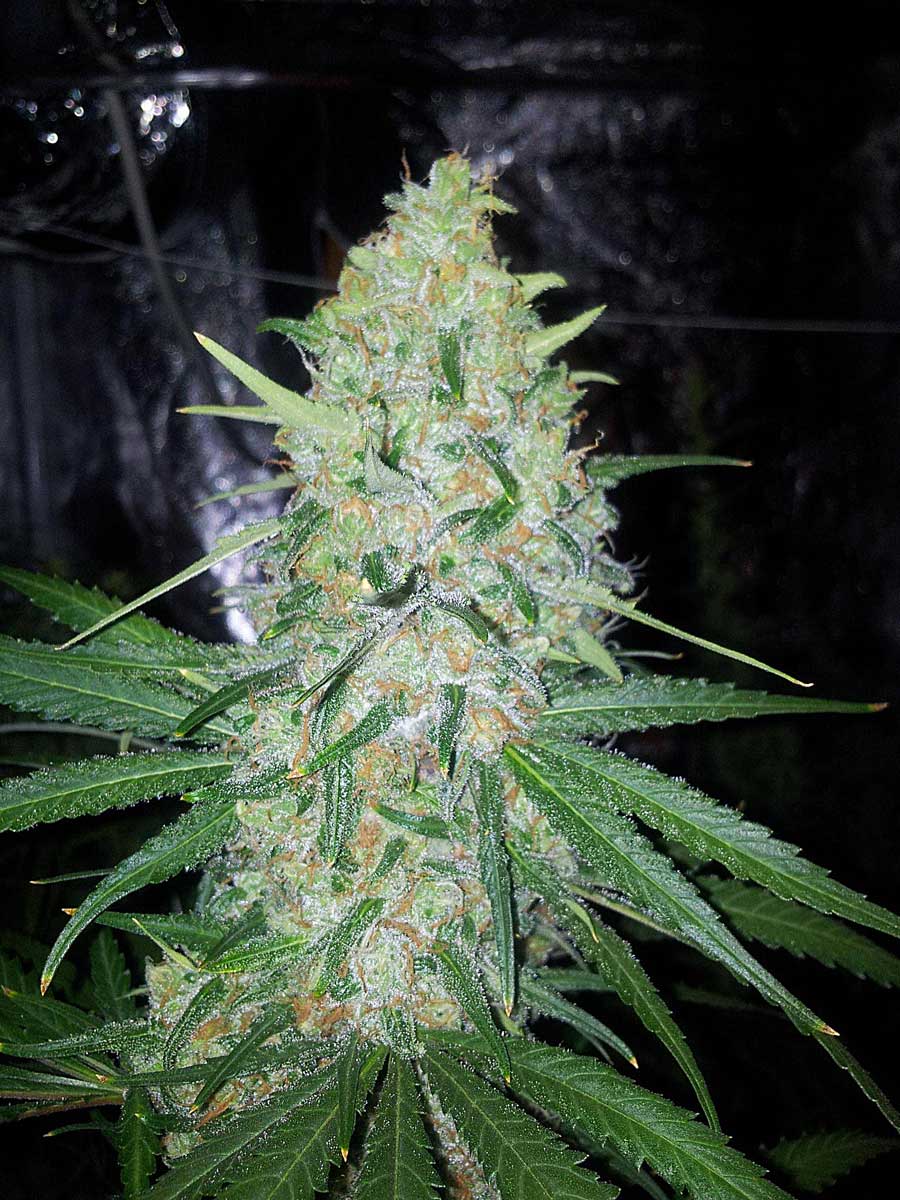
Ready to Harvest – On the Late Side (more of a “down” or body effect)
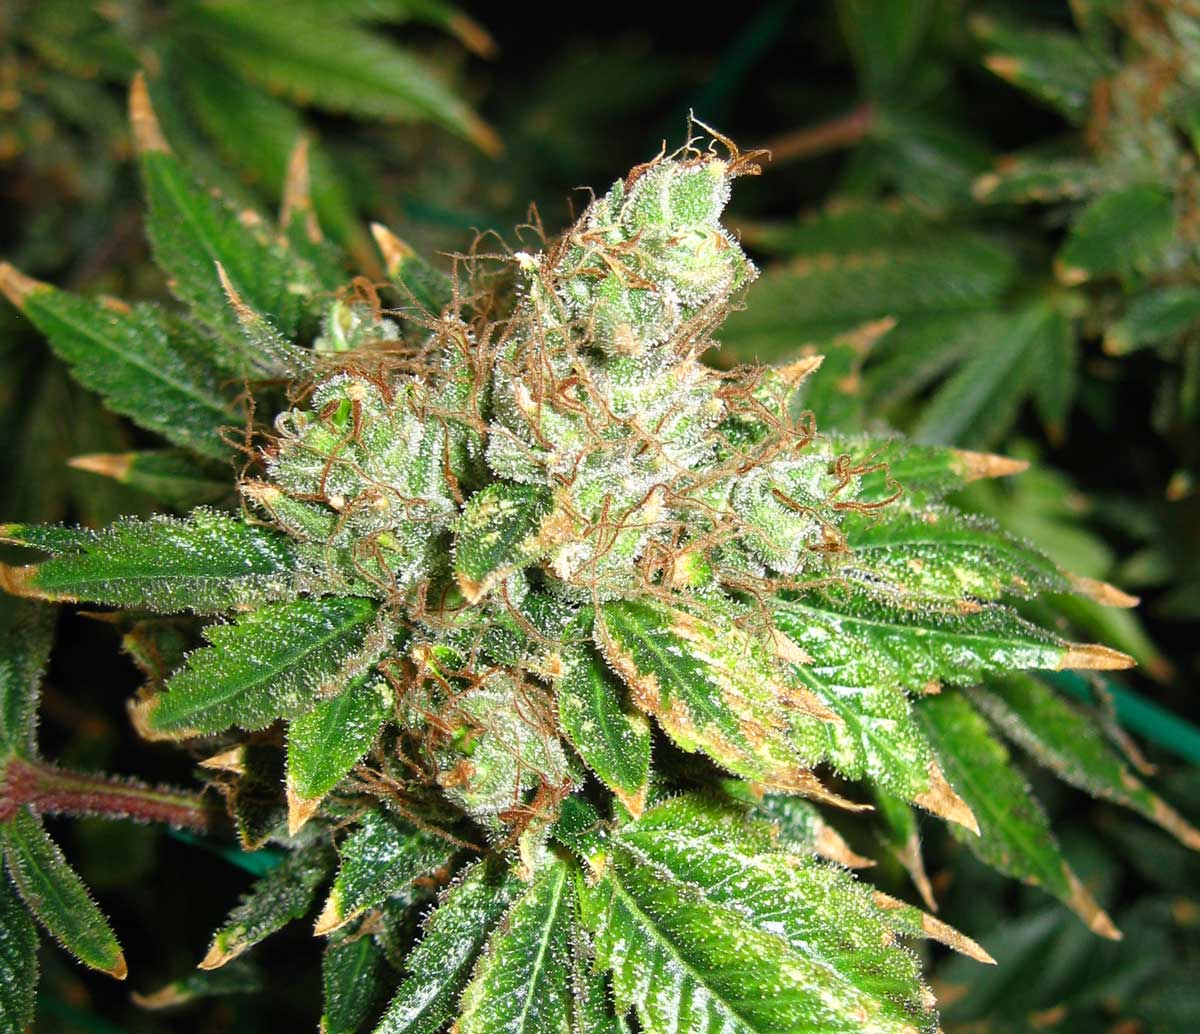
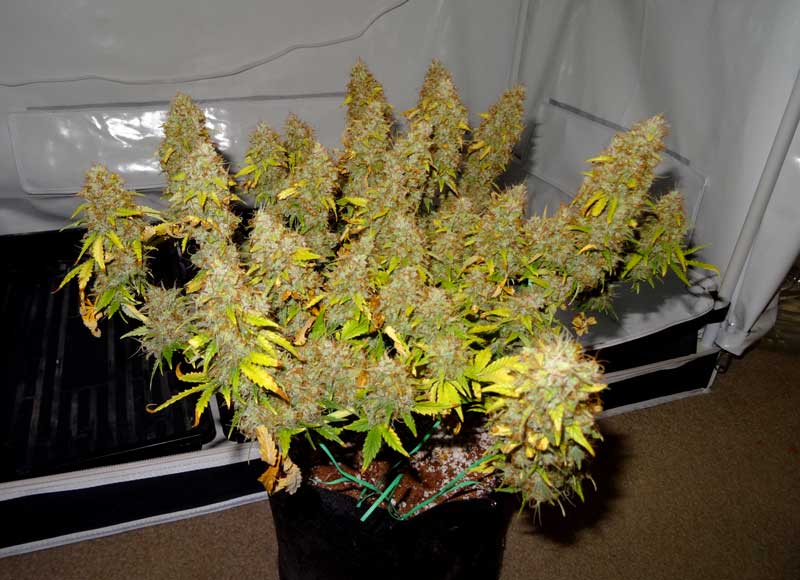
Ready to Harvest – Special Cases (when to harvest even with lots of white pistils left)
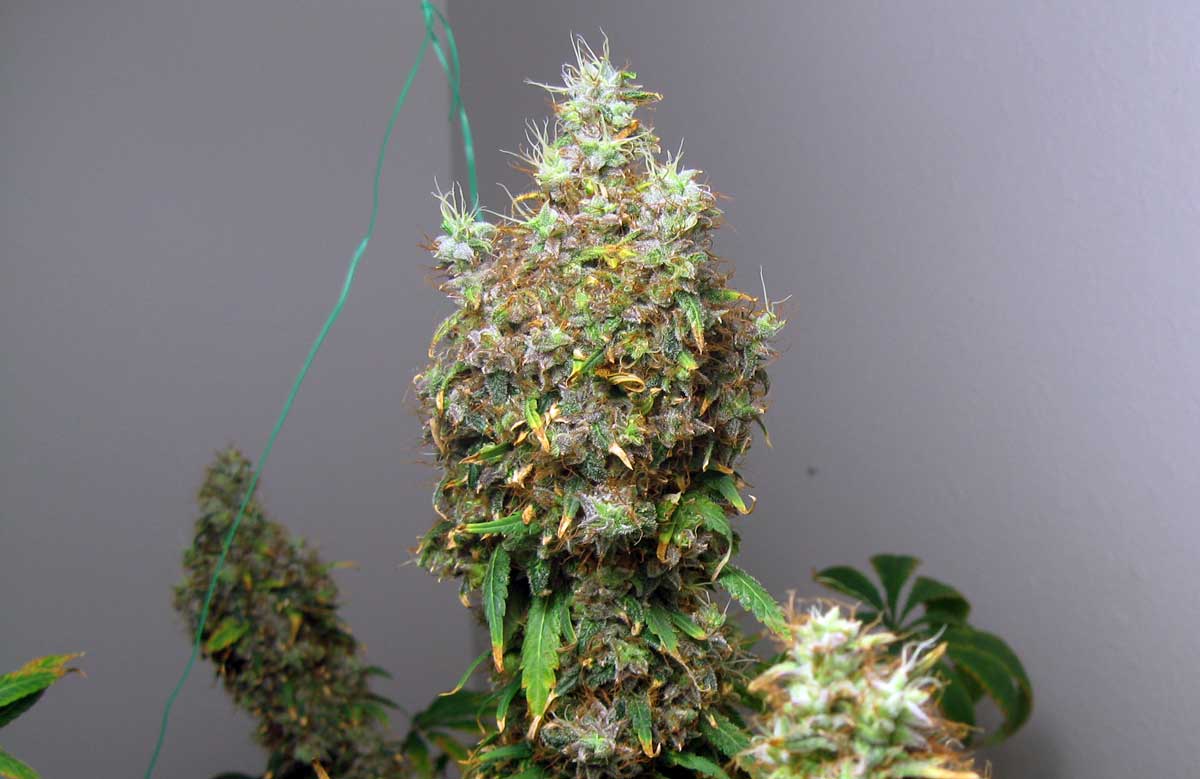
If all the leaves on a plant die (for example if it gets sick or stressed), the yellowing and discoloration starts spreading to the flowers. If this goes on too long, it can damage the overall quality, potency, smell, and appearance of buds. If you have a sick plant in the late flowering stage that keeps getting worse, keep a close eye on buds and harvest before they get too damaged.
Even though there are still plenty of white pistils on the following bud, the plant is dying (and keeps getting worse) so it’s a good idea to harvest soon.
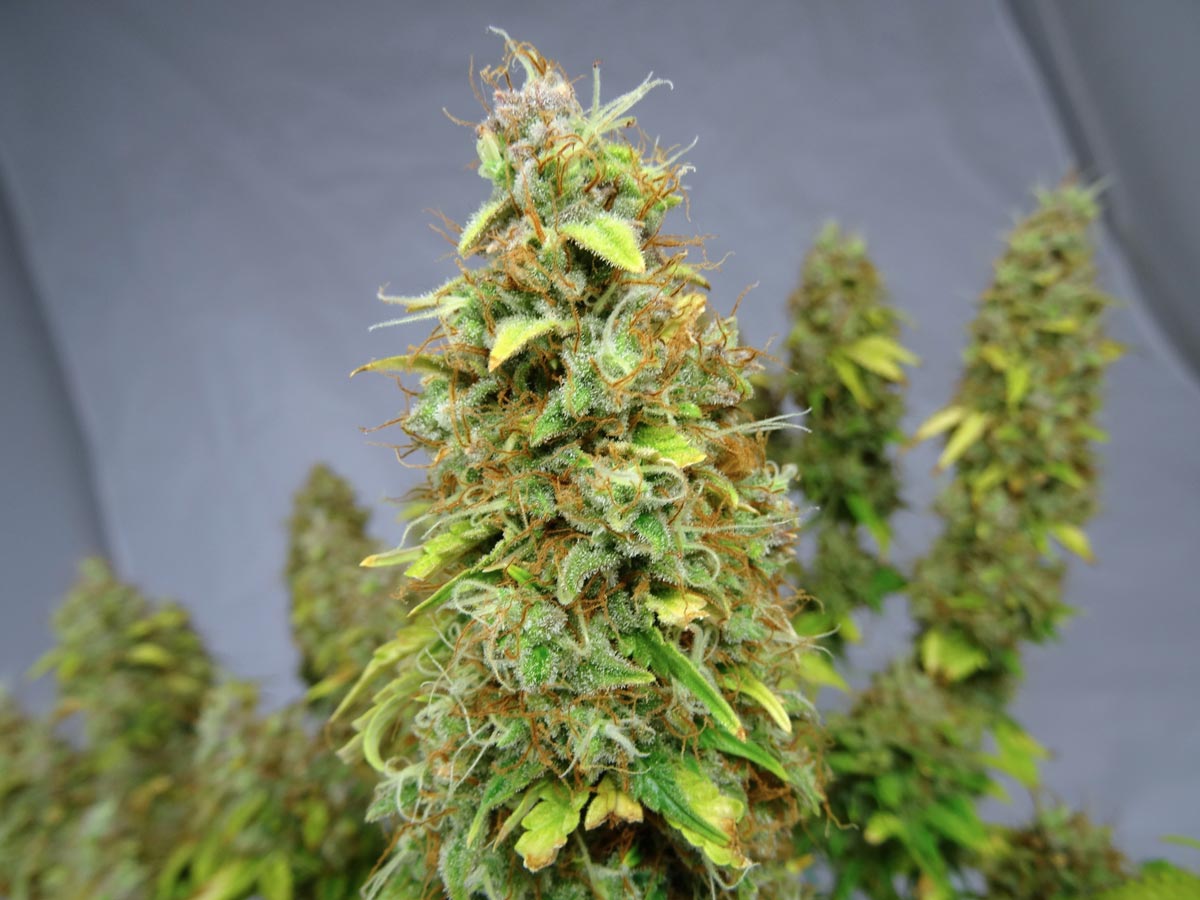
Heat or light stressed plants may keep growing lots of new white hairs on top of mature, older buds. In that case, look at the older parts of the bud to determine when to harvest.
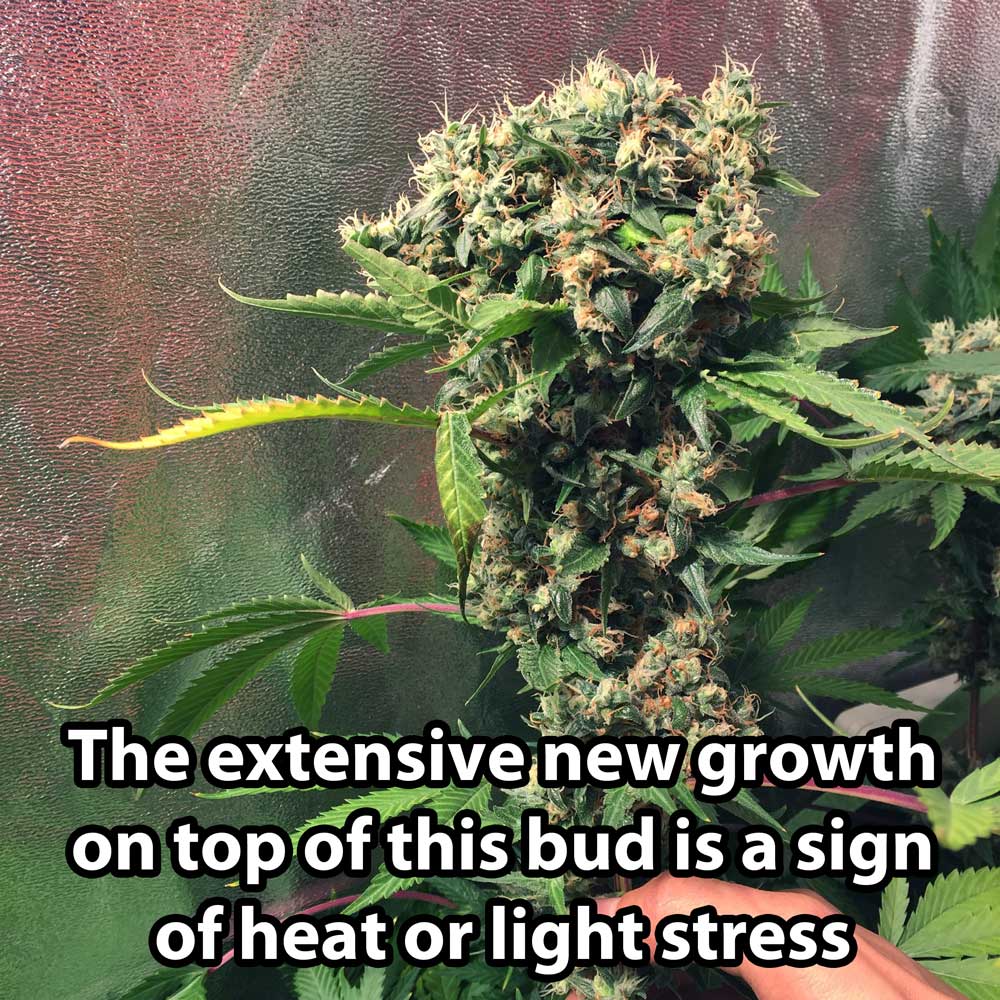
Too much heat and light can cause other problems. Notice the yellow “banana” sticking out of the top middle bud in the next picture. This is a stress response. The plant is making a last-ditch effort to pollinate itself and make seeds before the plant dies. If your buds start popping up with bananas everywhere, it’s time to harvest. Otherwise, you start losing potency/smell and buds may get seedy.
This plant suffered from extreme heat and light burn and should be harvested.
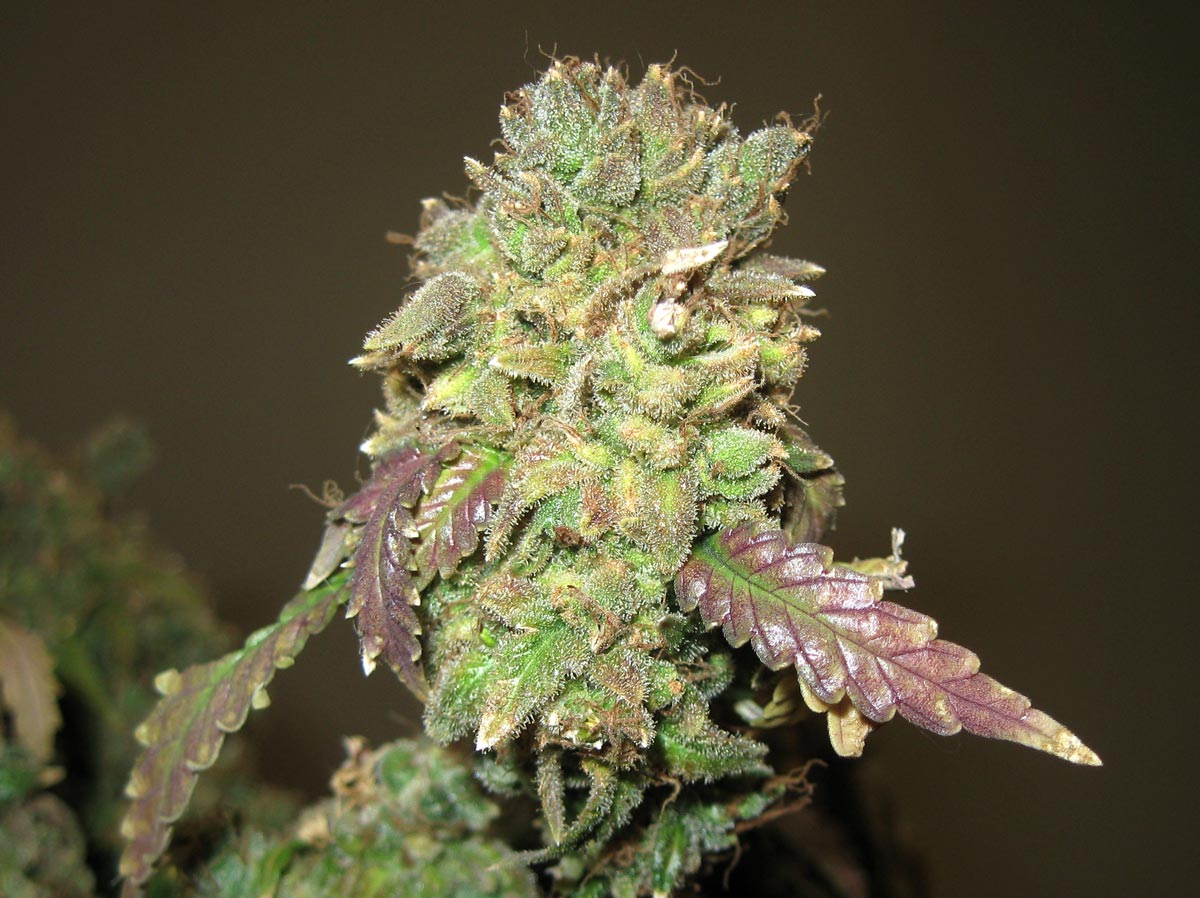
See More Pictures of Ready-to-Harvest Buds!
With some strains, it is much harder to tell when the time is right. Different strains can look different ways at harvest. For example, some strains can keep most of their pistils white even when they’re ready to be harvested.
You can get some good information by talking to someone who has grown your strain before, such as the breeder. The breeder or growers who’ve grown your strain before can often provide extra insight into what to look for at harvest. You can also search online for pictures of what your strain should look like when it’s fully ripened.
Next, we’re going to go over the 2nd (and MUCH more accurate) method of checking your cannabis plants to see if they’re harvest-ready…
(how to harvest cannabis using the accurate method)
This harvest method tends to be more precise than looking at the pistils of your cannabis plant.
Look at trichomes under a magnifier to harvest cannabis buds with the desired THC levels
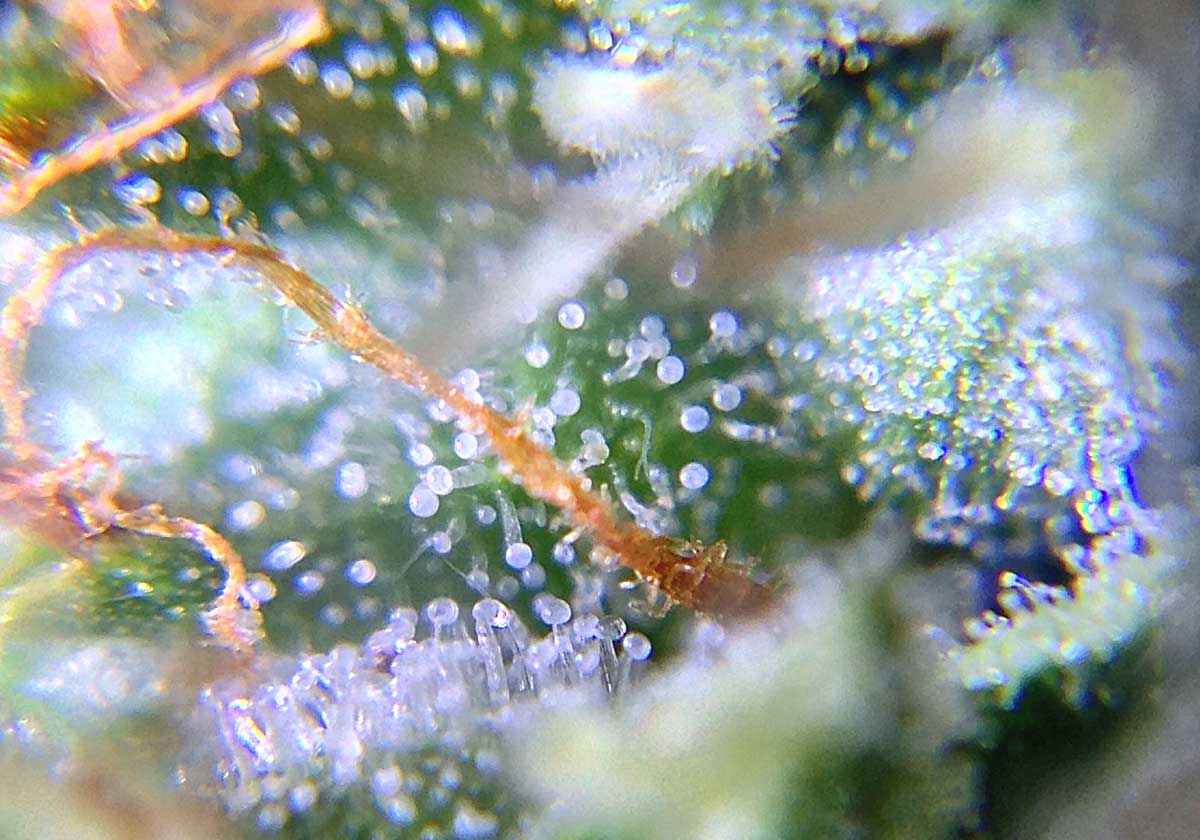
With this method, you look at the glandular stalked trichomes on the buds under a magnifying glass. Trichomes are the mushroom-looking growths on cannabis that are responsible for it being so popular!
In some places, these trichomes are called resin glands. These trichomes are the ‘crystals’, or ‘frosty stuff’ you see accumulating on your bud/leaves. They’re also what makes weed so sticky.
The trichomes you’re trying to see look like little mushrooms. You may also see tiny, clear hair-like trichomes without the mushroom head but these don’t affect potency so you can ignore them. You are interested in the trichomes that have a little ball on top. This is where a lot of the THC and other good stuff in cannabis is located. Since these trichomes are what contribute the most to bud potency, being able to tell when they’ve reached their highest levels of THC will help you be able to choose the exact right time to harvest your marijuana.
Cannabis trichomes are difficult to see with the naked eye, so you’ll need a jeweler’s loupe or other way to magnify the image in order to use the “trichome method” for determining harvest time. Conversely, some cameras can take ‘macro’ shots that are clear enough to see what stage the trichomes are in but they can be pricey…
Jeweler’s loupes are relatively cheap to buy online, at a hardware store, or sometimes a jewelry store*.*
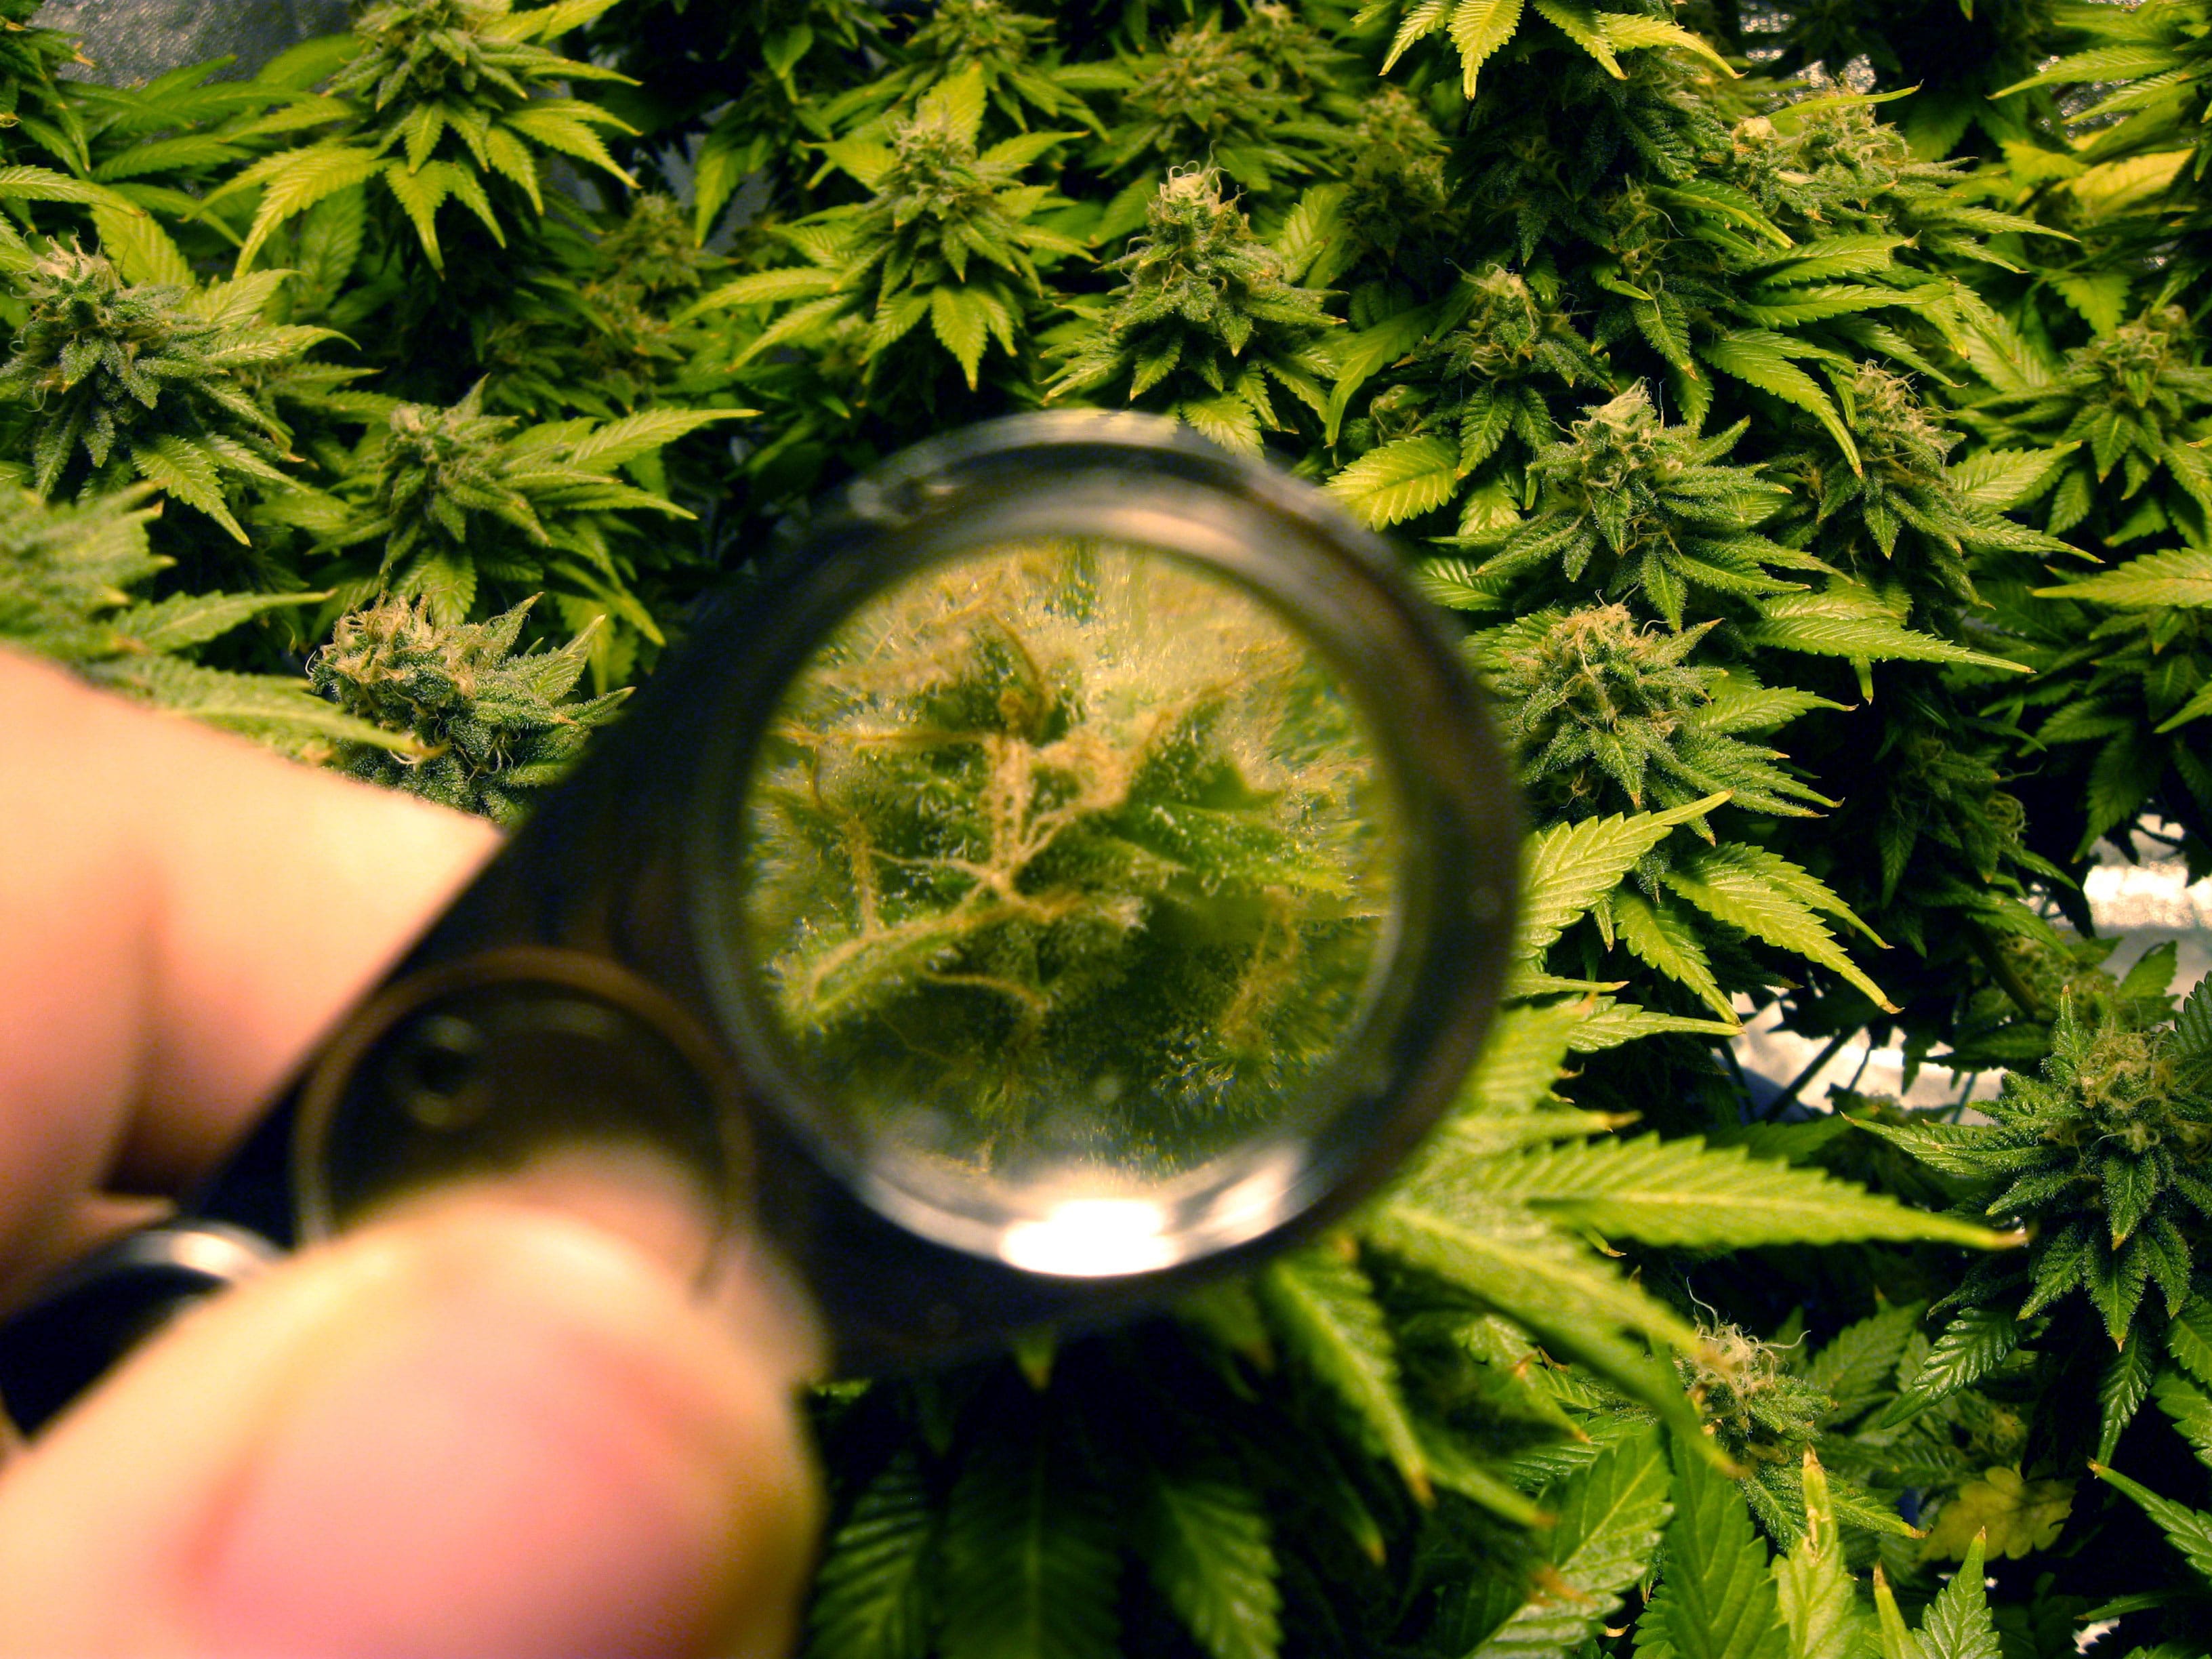
If you put the loupe right up to your buds, you’ll get a better view of the trichomes, letting you better determine their color and shape.
Although a jeweler’s loupe can make trichomes appear bigger, sometimes it’s not big enough. I know I end up squinting a lot when I’m trying to use one, but they are a heck of a lot better than nothing!
Although it’s cheap, this “Wesley’s Jeweler’s Loupe” is one of the best-rated jeweler’s loupes in the under $20 price range. It’s the one I use. However, please note that although it says you get 40x magnification, you don’t get nearly as much as that. However, I’ve found that with just about every jeweler’s loupe; they advertise more magnification than what you get. That being said, for a lot of growers this will get the job done!
Get a Wesley’s Jeweler’s Loupe on Amazon.com
A digital USB microscope typically takes video and produces bigger and more clear pictures of trichomes than a jeweler’s loupe or other small magnifiers. Not only can you see the trichomes better, but you can record video of them to look over after the fact. These are still pretty cheap, costing $30 on average, and they will give you better results than most other methods for determining harvest.
Here’s an example of a digital microscope we got from Amazon. So far I’ve found most USB microscopes get similar results.
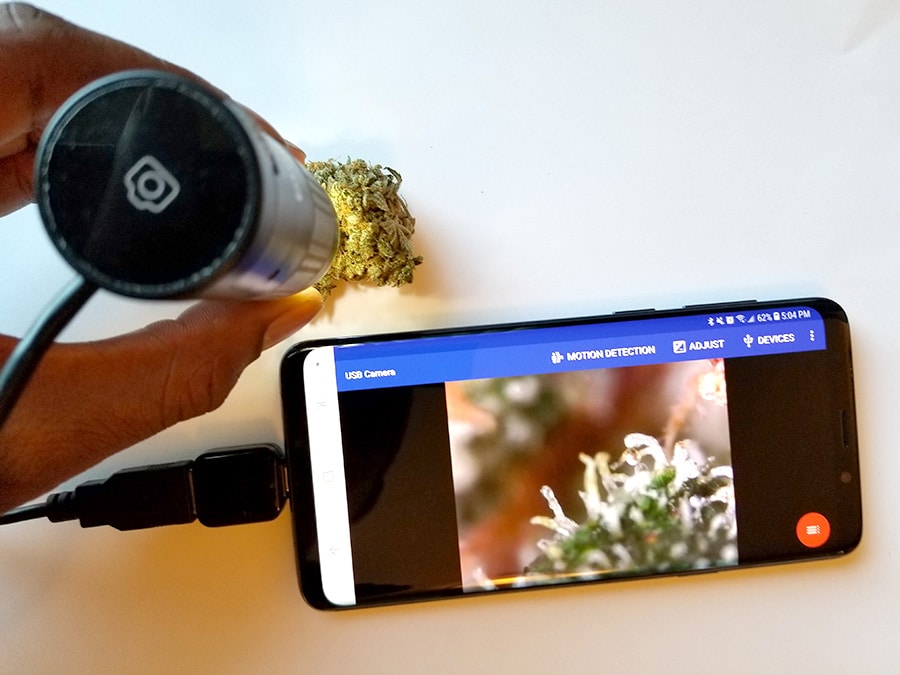
A digital microscope lets you see the trichomes up close and personal. You must hook it up to a device with a screen to see the pictures, such as a laptop or computer. It’s nice to be able to see the trichomes on a screen and take pictures or videos to examine afterward. It can be difficult to really evaluate the trichomes when you’re thinking about getting everything in focus.
Will a USB microscope work with smart phones? Likely yes. Most phones don’t have a regular full-size USB port, but newer USB microscopes often come with an adapter to connect the USB microscope directly to your mobile phone. However, this only works if your phone has a compatible USB port and supports OTG USB (some users may need to get an OTG-compatible camera app). Many USB microscopes (including the one linked above) come with an adapter, but if the microscope you choose only comes with a regular USB cord, or your phone needs a different type of plug, you may need to get an OTG adapter separately. Some Apple phones have ports that need Apple-specific OTG adapters. Some old Apple and Android phones don’t support OTG at all. Luckily, most iPhones and many Android phones have a nice enough camera you probably will be able to see the trichomes through the regular camera (zoomed in) as long as you keep it still and use plenty of light. When in doubt, contact the seller of the USB microscope as they usually know which phone models their product will work with.
#3Thanks @ShaggyGrower.V2 for replying and for sharing this in depth guide. I will keep it for the next grows.
In my case my plant is definitely dying, full of yellow sugar leaves. There is no no fan leaves and it is starting to spread through out the buds. In this case should I do it now??

 #4
#4Well, wait for the light bulb to go out and the next day instead of turning on the light bulb, open the closet and cut it off. This is because, at least in the dark, the plant can take out more trichomes that have been burning with the 12-hour light bulb and can take out some more until the next day.
and ripe those that are half milky and half white are maturing then you also leave it 2 days without watering since the hydric stress makes it mature and you add more trichomes you also clean it of all the leaves this is another stress so you can add more resins and trichomes. good smoke
#5
Marijuana is a hardy plant that thrives in a wide variety of conditions. As growers, we can apply stress to plants to interfere with their growing cycle and get bigger and better yields. But there are also bad forms of stress. Find out everything you need to know about beneficial and harmful stress in marijuana.
134
28 Dec 2021
By Steven Voser
Contents:
For people, the word stress is loaded with negative connotations. But in the case of marijuana, a certain amount of “good” stress can help plants grow healthily and produce larger, more resinous flowers.
But how do you know exactly what type of stress is good for marijuana plants and what is not? In this article, we take a detailed look at the beneficial and detrimental forms of stress for marijuana, and how to use the former to ensure your plants produce the best possible harvest.
Marijuana plants need water to survive. Not only is glucose production necessary to fuel photosynthesis, but water pressure also helps plants maintain their internal structure. If they don’t get enough water, plants grow stunted, leaves wither and eventually die.
Overwatering , however, can be just as detrimental to a plant’s health as underwatering, maybe even more so. Excess water in the substrate gives rise to a series of problems, as it interrupts the absorption of nutrients and stunts the growth of the plant, causing damage to the root system and exposing it to pathogens such as fungi, bacteria and pests.
At RQS we are clear about it; We advise you to err on the side of caution and water little, especially if it is the first time you grow marijuana. For best results, we recommend paying close attention to the soil of the plant and allowing the first few inches of the surface to be completely dry before watering again. But don’t go too far either; letting the soil dry to the bone can cause an unhealthy degree of stress that will ultimately block growth.

When it comes to potentially beneficial ways to apply stress to cannabis through watering, some growers choose to simulate pseudo-drought conditions. They believe that lack of irrigation, in the right amount, helps avoid pathogens and stimulates plants to produce more cannabinoids and resin.
Another type of irrigation stress that some growers like is applying what is known as “cold shock”. This involves rinsing the plants with cold water during late bloom, just before harvest . Again, the theory behind this method is that the mild root stress caused by cold water stimulates the plants to produce more trichomes /resin late in their life cycle.

The root system of a plant is its lifeblood. Without healthy roots , plants will never be able to sustain healthy vegetative growth or flowering. Therefore, it is very important to take care of the roots and minimize stress in this vital area of the organism of the marijuana plant, especially at the beginning of the growing cycle.

Some of the most common stressors on marijuana roots include:
The key factors to avoid root stress are:
| Oxygen | Roots need oxygen to create ATP, a molecule that helps transport molecular energy throughout a plant’s organism. Oxygen also helps prevent the development of pathogens in the root system. |
|---|---|
| suitable temperature | Marijuana roots are happiest around 24°C when grown in soil and 19-25°C in hydroponics. At these temperatures, root respiration and nutrient uptake are more efficient. |
| Sufficient watering and fertilizing | As the roots grow, they need constant watering and fertilization for the plant to develop properly. As the root system expands, you’ll need to adhere to watering and fertilizing schedules to distribute enough water and nutrients to promote robust development, without over-fertilizing or over-watering. |
| Proper pot size | If you decide to grow in a pot , you will need to make sure that each plant has enough room to spread its roots. If the pot is too small, it won’t take long for the roots to become tangled, which can cause other problems and usually blocks the growth of the crop. So start with a pot large enough for the entire life cycle, or repot when necessary to give the underground part of the plants plenty of room to breathe. |
Marijuana is a sun-loving plant, and anyone growing weed should understand the importance of giving plants plenty of good quality light throughout the growing season.
One of the main reasons why light is so important to marijuana (and to all plants, for that matter) is that light is necessary for photosynthesis . If you have a good memory, you may remember the process of photosynthesis from your high school biology classes. But if you don’t remember, it’s simple: plants use photosynthesis to convert energy from light, water, and carbon dioxide from their environment into glucose, which they then use to power their growth. In short, light is the most important energy source for marijuana plants.
Outdoor cannabis plants need at least 6 hours of direct sunlight per day to photosynthesize properly . If possible, 10-12 hours of direct sunlight is ideal. Indoors, most growers give their plants 18 hours of light during the vegetative growth phase, followed by 6 hours of uninterrupted darkness, which is just as important for plant growth. Then, when it is time to flower indoors, the light cycle is changed to 12/12, and outdoors they flower naturally based on the seasons.
Unfortunately, mastering lighting for cannabis plants isn’t easy, and light stress is possibly one of the most common problems growers (especially inexperienced ones) face.
The main form of detrimental light stress growers face is light burn . This occurs when grow lights get too hot or are placed too close to the plants, which ends up burning the canopy.
Light burn is very easy to spot, as the plant’s leaves curl up and close in on themselves in an attempt to shield themselves from the light. Over time, a light burn causes the leaves to dry out, turn brown, and break off. Light burn is not a beneficial form of stress and should be avoided at all costs, as it destroys healthy foliage and slows plant growth.

Although light burn is detrimental to plant health, there is a way to apply some “healthy” light stress to benefit growth. To get started, we recommend experimenting with the color temperature/light spectrum of your lights.
Photosynthesis occurs with red light, followed by blue light. For best results when growing indoors, we recommend using lights with a higher percentage of blue light during the vegetative stage (to promote the growth of healthy leaves and strong stems), followed by red light during the flowering stage (to promote growth). flowering and resin production).
If you want to kick things up a notch, you can choose to (very gently) increase the UV light frequencies of the cabinet or grow room during flowering. Some growers have noticed that a subtle increase in UVB light intensity can boost resin production during flowering. But you have to do it very carefully, because UVB light is very strong and can burn plants if it is too intense.
One final form of beneficial light stress used when growing marijuana is to deprive plants of light during late bloom. This technique involves leaving the crop in total darkness for 24-48 hours prior to harvest , which is said to help stimulate trichome production just before cutting the buds.

The temperature and humidity levels of the grow room are very important and have a direct impact on the ability of plants to grow and flourish. Although each strain is slightly different, most growers agree that the ideal temperature and relative humidity levels for marijuana are:
Most marijuana strains enjoy slightly cooler nighttime temperatures. Whenever possible, try to lower the temperature of the tent/grow room by 5-10°C during the hours of darkness, to promote respiration, nutrient and water uptake, and strong vegetative growth.
Temperatures that are too high or too low can cause heat and cold stress, which greatly affects the health of plants. Cold stress will cause plants to wilt and wilt, side effects of the plant’s inability to absorb the nutrients and water it needs to stay alive.
The effects of heat stress are similar (as it affects the ability of the plant to absorb nutrients and water), but they manifest themselves in different ways. Heat-stressed plants bend over, and over time, the leaves dry out and turn yellow before dying completely. Excess heat and humidity also create the perfect breeding ground for pests and pathogens that can destroy healthy foliage and cause serious plant problems.

However, as with many aspects of growing marijuana, the right amount of temperature stress can, in some cases, be beneficial to plant health. By using CO₂ supplements in the closet or grow room, you may be able to increase the temperature, inviting the plants to take up more water and encouraging photosynthesis and growth.
Similarly, many people advocate cold stress in the last few weeks of flowering. Some experienced growers have found that lowering the temperature in the grow closet or grow room in a controlled manner two weeks before harvest stimulates plants to produce more trichomes and terpenes , resulting in not only stronger buds, but also more aromatic.

Providing marijuana with the proper amount of nutrients is extremely important. And while most brands of fertilizer come with seemingly simple instructions, fertilizing is one of the most troublesome aspects of growing weed. It happens to many growers that they do not fertilize enough and harvest mediocre buds, or that they go too far with fertilizers and cause nutrient burn.
Nutrient burn happens when plants are exposed to more chemical fertilizers than they can absorb. Over time, the chemicals in the fertilizer build up in the soil, damaging the roots and interfering with the plant’s ability to continue to absorb water and nutrients for the rest of the cycle.
To avoid nutrient burn, we recommend always using organic fertilizers , as they are more difficult for plants to break down and absorb, and therefore nutrient burn is less likely to occur. Afterwards, it is enough to respect a fertilization program and avoid the idea of "the more, the better".

Marijuana plants grown in soil need a pH level between 6 and 7 . The pH level marks the acidity and alkalinity of something. When the level is high, above 7, it means that the soil is more alkaline, while if the level is below 7 it is more acid.
Marijuana likes the middle ground. The soil, water and fertilizer must be kept within this range, otherwise the plant will not be able to absorb the nutrients and a phenomenon known as nutrient lock-up will occur , which can lead to other forms of stress.
In hydroponics , the ideal pH level is a bit lower, between 5.5 and 6.5 . While plants grown in soil can handle a little more fluctuation, pH problems in hydroponics can quickly spell disaster for your grow, so be sure to measure your fertilizing solution and soil with a reliable pH meter.

Tissue damage is perhaps the most widely used form of beneficial stress in marijuana plants. That being said, it can also cause problems if not done correctly or at the right time.
When plants suffer from leaf or branch breakage , they devote a lot of energy to recovery. Part of this energy is used to heal the broken tissue and another part to strengthen the plant’s defenses against pests and pathogens that may be attracted to the damaged area.
When this happens, it not only lengthens the life cycle of the plant so that it can recover, but also takes energy away from other vital processes . Some common causes of unwanted tissue damage in marijuana include high winds (when growing outdoors, watch closely for signs of windburn ), growing large, heavy plants in small pots, and simple mistakes when watering or moving plants. by the garden.
Although some small mistakes can be made during the vegetative stage, if you do break a cola at the end of flowering, there isn’t much you can do to remedy it.

On the other hand, growers can also take advantage of tissue damage to promote nutrient uptake, redirect plant growth, and increase light exposure to more parts of the plant. These techniques are often referred to as high-stress and low-stress training. Some examples include:
Keep in mind that timing is very important when training marijuana plants. Most growers agree that stress can be beneficial during the vegetative phase, but should be avoided (for the most part) during flowering, to avoid disrupting flower and resin development . Also, if the plants are subjected to a lot of stress during the flowering period, hermaphroditism may occur in some specimens.

Marijuana plants are incredibly resistant. And while they grow well on their own, the right dose of controlled stress can encourage plants to develop faster and more vigorously during the vegetative phase, and produce larger, more resinous flowers during flowering. That being said, it is best to avoid other forms of stress, which would simply damage the health of the plants and the harvest. So you always have to be very careful when applying stress to grass plants. Although a little push is good for all of us, we must not push things to the limit.
