#14
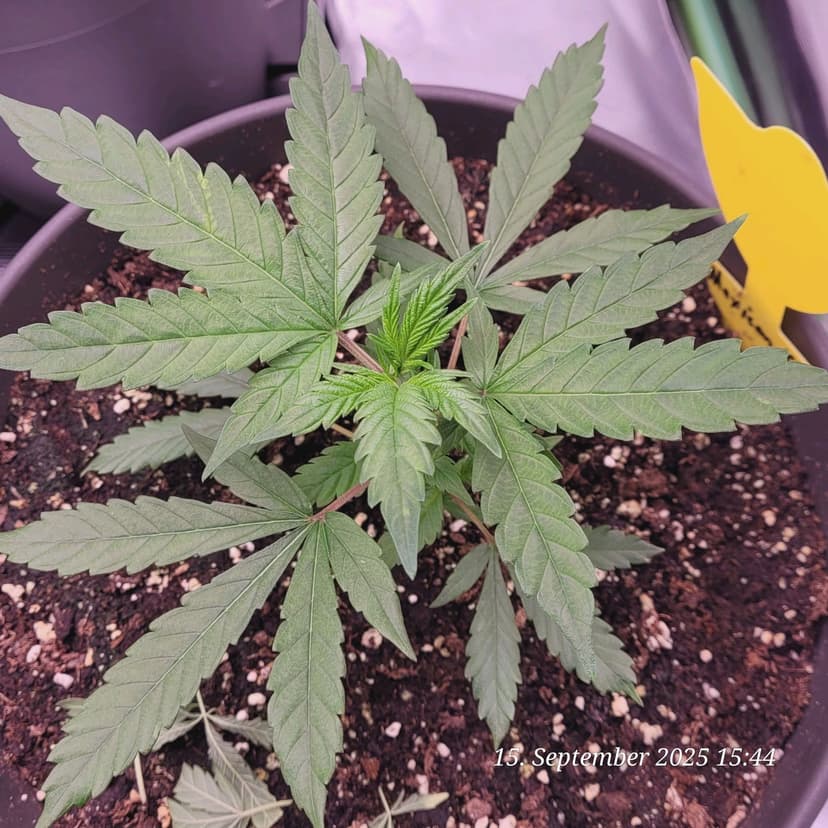
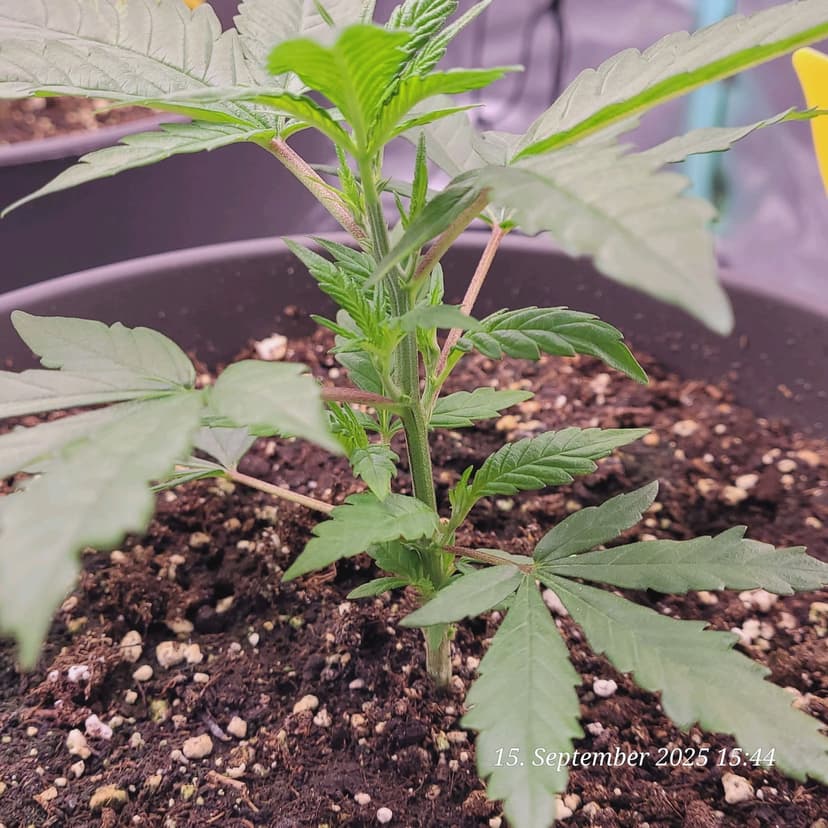
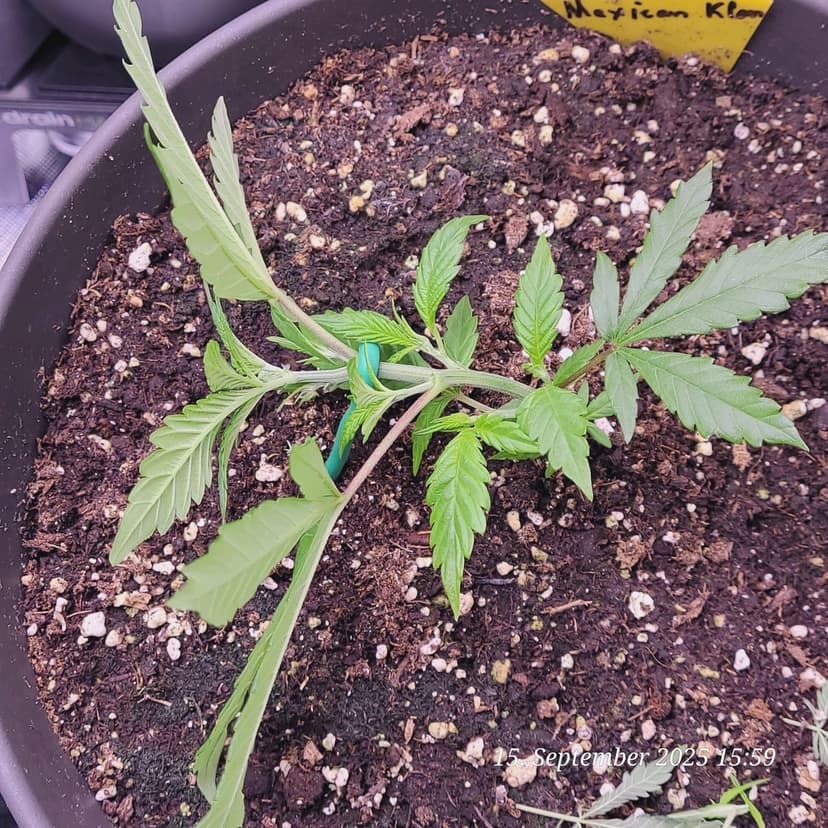
#14Some time has passed again and I’ve got new pictures of Zami  with me. But in this episode, I’ll just explain how I root classic cuttings in soil…
… For this, I’ve taken simple cuttings from the growth phase of my “Strawberry Cough”


I made the selection of cuttings easy for myself in this case. Since I top 90% of all plants anyway. 
I had voilà…

I took the upper shoots. (Of course, I also processed the rest into cuttings  )
)
Then the lower leaves were completely removed…

Nicely sharpened diagonally / at an angle. The larger the angle, the better. For me, it’s always well over 45°… 

Then quickly make 2 to 3 longitudinal slits… 

I hope it’s recognizable. 
The whole thing now goes into “Herb and Seedling Soil”…
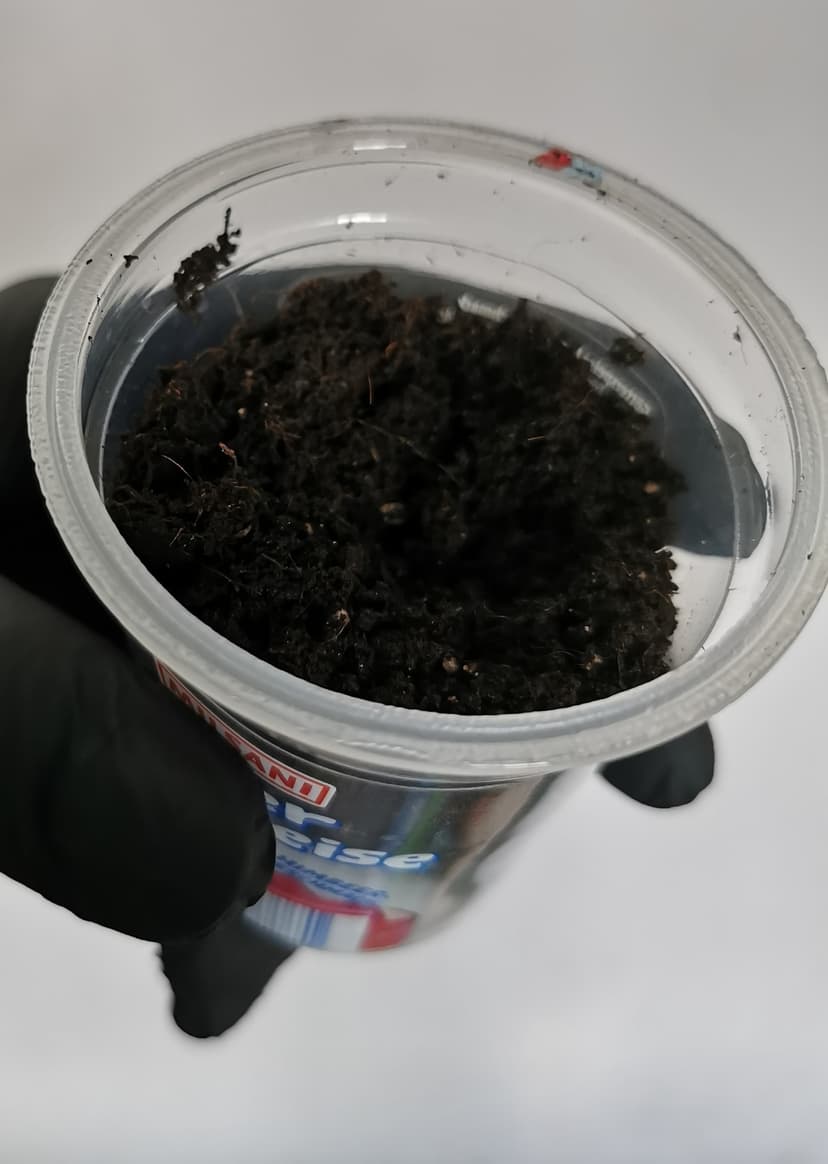
Make a hole that goes down to the bottom of the cup…

The pictures are unfortunately in the wrong order now. But never mind. The only important thing is. That you only very lightly compact the soil on the surface. And the rest underneath remains as loose as possible. Spray a little water so that only the top layer of soil gets moist. (This will seep through the soil over time)
Now put the lightly perforated cup on top and secure/fasten the whole thing with adhesive tape, masking tape, or similar… 
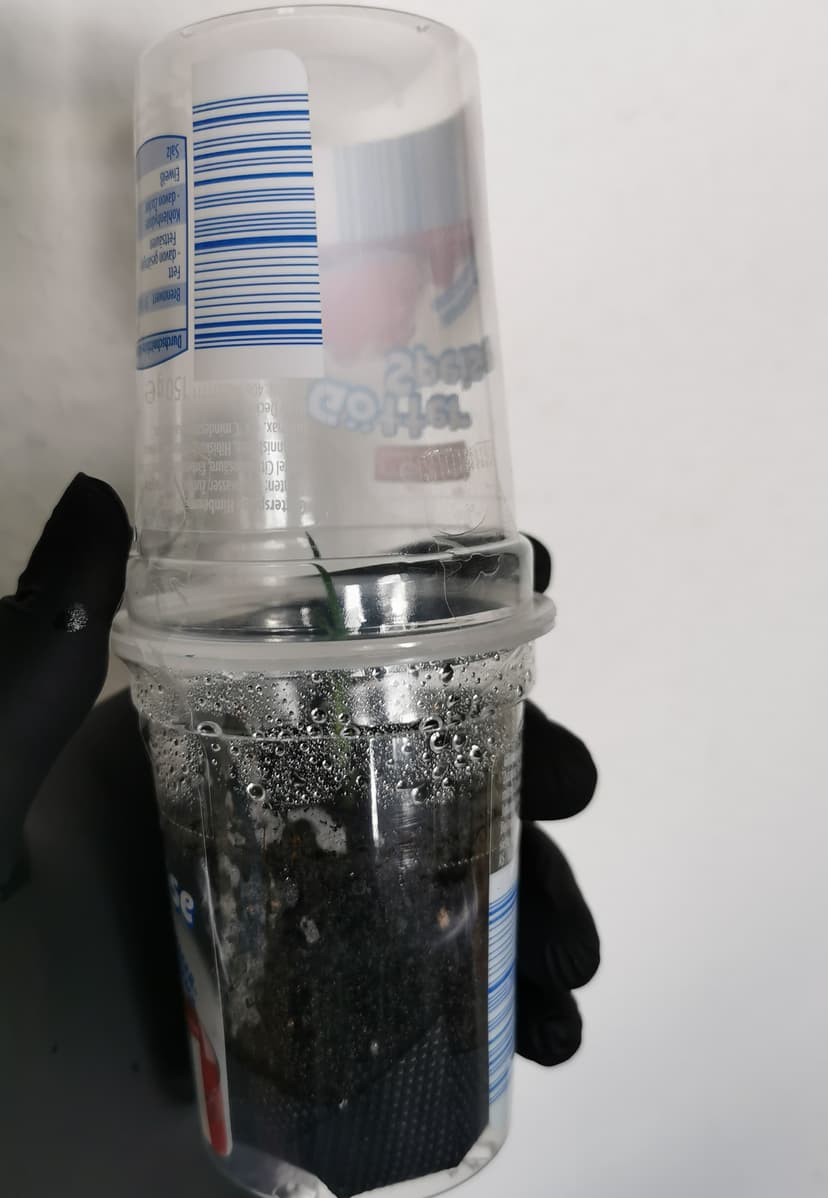

The whole thing then goes onto the windowsill (preferably south-facing) and will not be touched further until root formation is visible. (Except to check if roots are already there. That’s why it’s secured.)
This is how I’ve been doing it since I started growing cuttings.
It has always worked for me this way. Sometimes faster, sometimes slower. But always with success!
I hope it works as well for you when you try it. 
In this spirit, your Dr. Weedenstein
Grow on everyone 


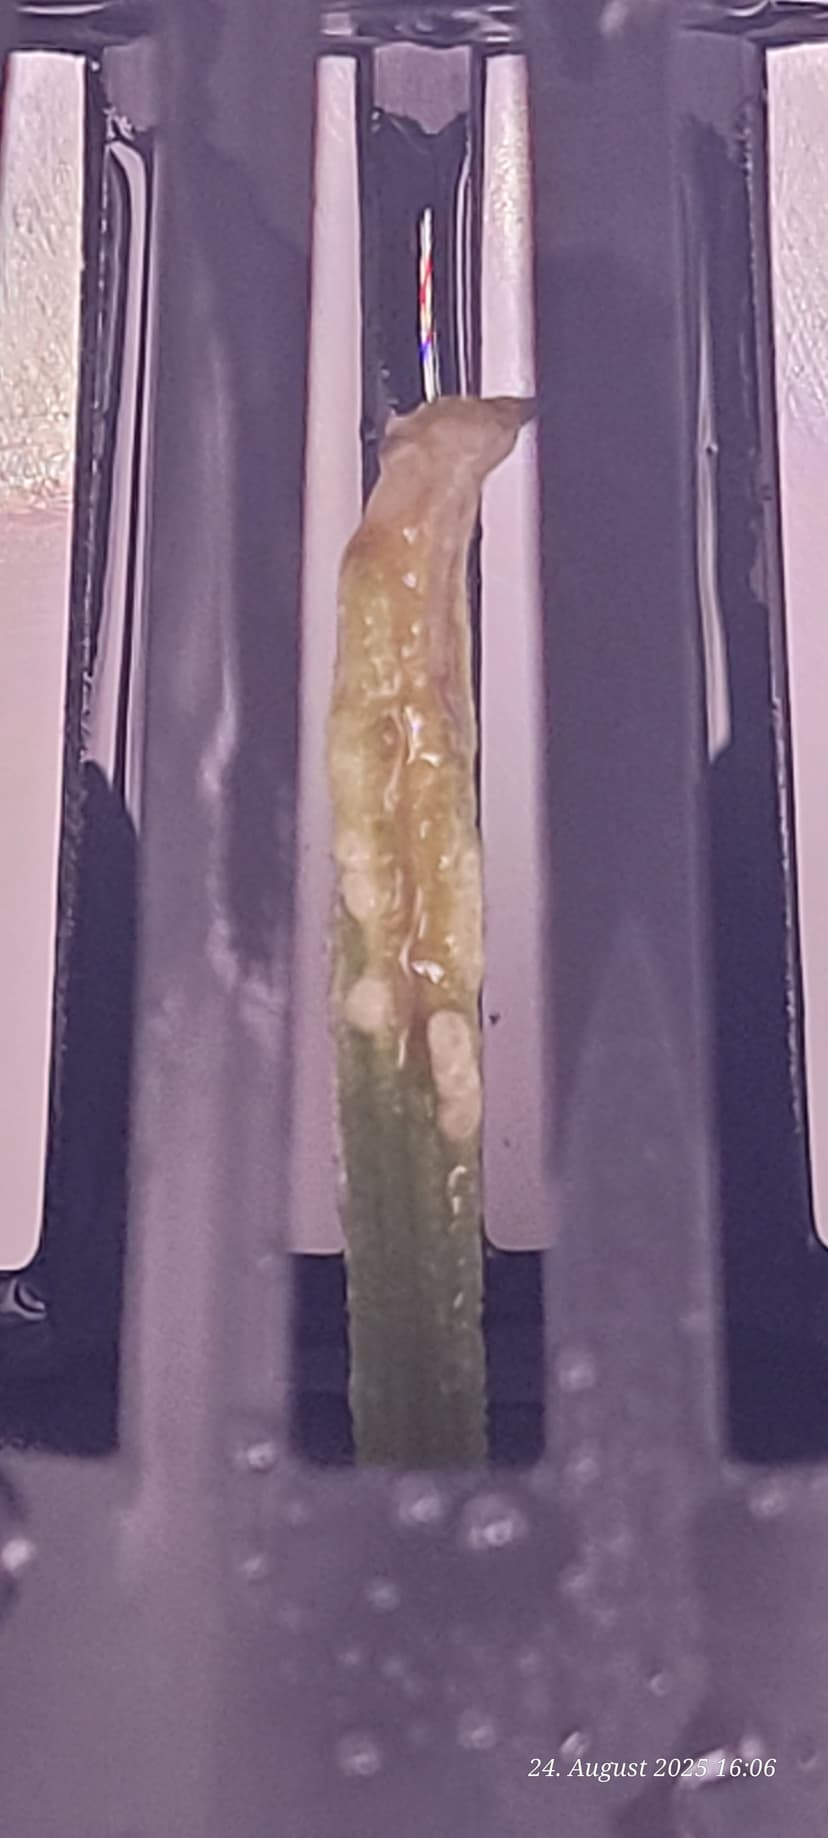


 You’re topping us all again here with your “full-pro tool”.


 , while recovery is starting at the tip.


 Pflanzenpaule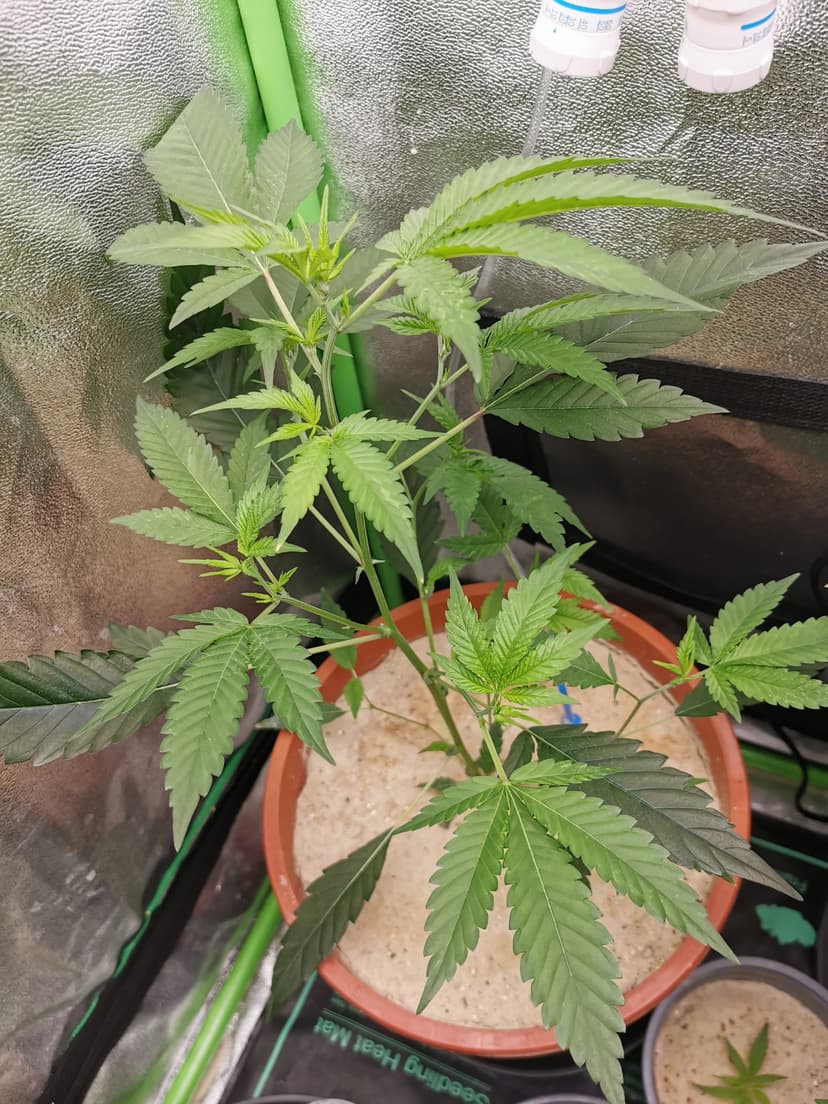


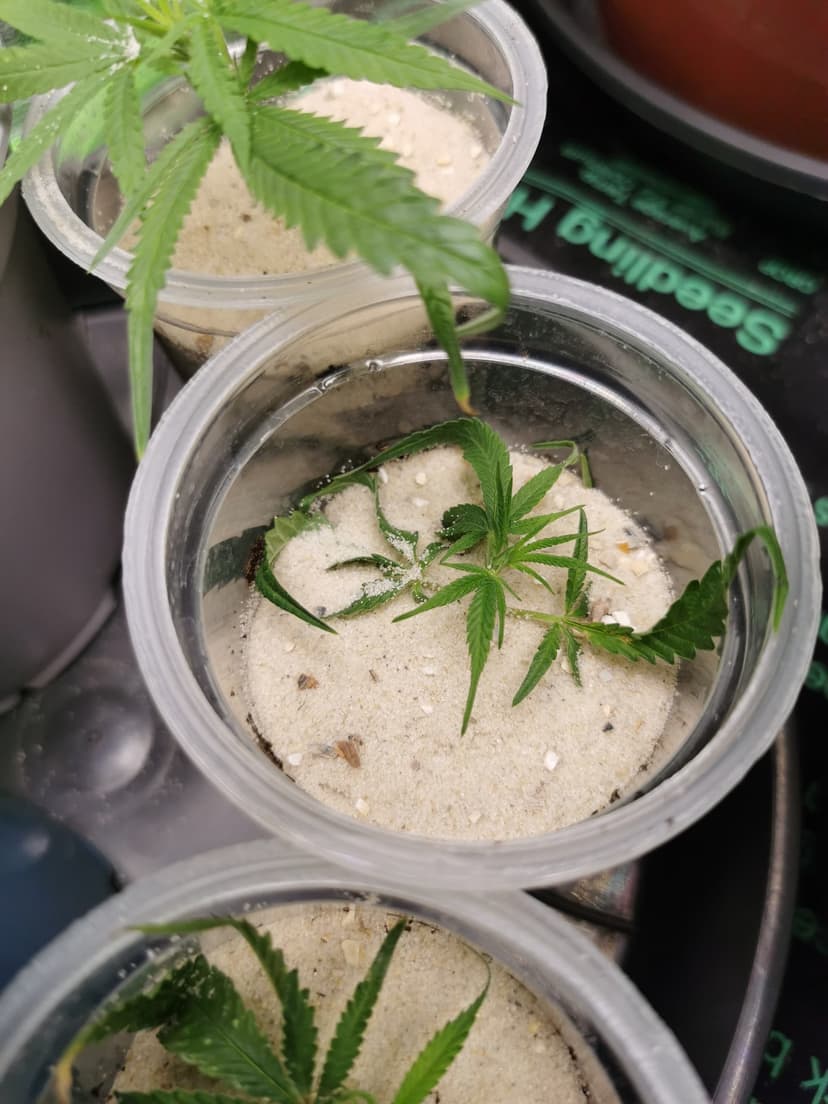


 A big cheer to your experiments